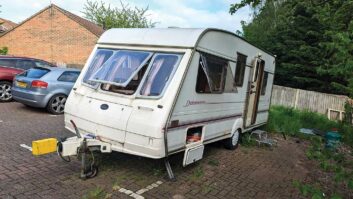


Every trip we’ve taken in our 1998 Bailey so far has highlighted issues concerning charging our devices on tour without hook-up.
The best caravan leisure battery offers 12V power, charging low voltage devices when you don’t have hook-up. However, our first trip away was to a music festival, where we realised that, despite having a fully charged leisure battery, we had no way to charge our phones from it. While our subsequent journeys have been to campsites with mains hook-ups, it became a fight over mains sockets that are never in a convenient place for charging a phone.
We definitely needed some 12V charging options. The standard choice would seem to be USB sockets. These are commonplace in modern tourers. When we started thinking about this project, we imagined we’d fit USB port sockets, rather than the cigar-lighter style auxiliary power outlet used in cars. However, after going down a lot of internet rabbit holes, we decided to think again.
Why not use USBs for charging devices without hook-up?
There are a few reasons not to go for USBs. First, there is more than one USB standard, and the USB sockets widely in use in caravans, cars and elsewhere are USB-A.
Increasingly, these are being replaced by USB-C, and we didn’t want to fit sockets that might shortly require special adapters to allow them to work with newer devices.
Additionally, USB sockets typically operate at 5V and 2.1A, although some operate at even lower amperages. Lower voltage and amperage translates to slower charging, or perhaps no charging at all on greedy devices such as iPads or posh phones.
The cigar-lighter sockets operate at 12V and 10A, so can be used for a wider variety of devices. For example, dedicated 12V laptop chargers can be plugged into a cigar-lighter connector, but not a USB port.
We can buy a simple insert for the cigar lighter to create a USB port, and if we want to upgrade to another socket or connector in future, we can simply upgrade the insert.
In addition, a lot of USB socket mounts seem to come with an LED bulb to show they are working. In a dark caravan at night, that will illuminate the whole van, so a 12V socket without a light suited us better.
Ultimately, the cigar-lighter type seemed the best choice, so that’s what we went with.
There are plenty of suppliers of such things, but we chose ones with splashproof covers and a small mounting faceplate, which would cover any iffy woodwork when fitting them.
Getting to work
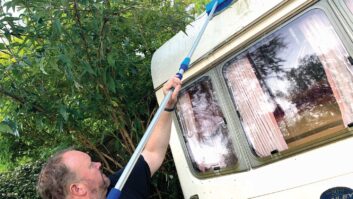
Armed with all the necessary bits and bobs, I started to look at the job; but after a short period, I began to think that we might want to give all of this a bit more consideration.
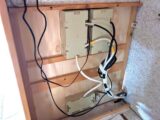
Penny is an older caravan and there is plenty of evidence that other DIY work has been carried out in the past, something which became apparent when I reinstated the towing electrics.
That’s not a problem – it’s to be expected when you’re buying a used caravan. I’m not sniffy about other people’s work if it has been done well, and most of what I found in Penny is tolerable, if a little strange in places.
The most logical place to add our 12V socket was alongside the heating controls, mains sockets and TV aerial points on the side of the wardrobe (see the best caravan TV aerial if you’re in need of one).
I had initially planned on adding an entirely new supply to our new socket, direct from the battery, and I had, in fact, bought everything to do the job.
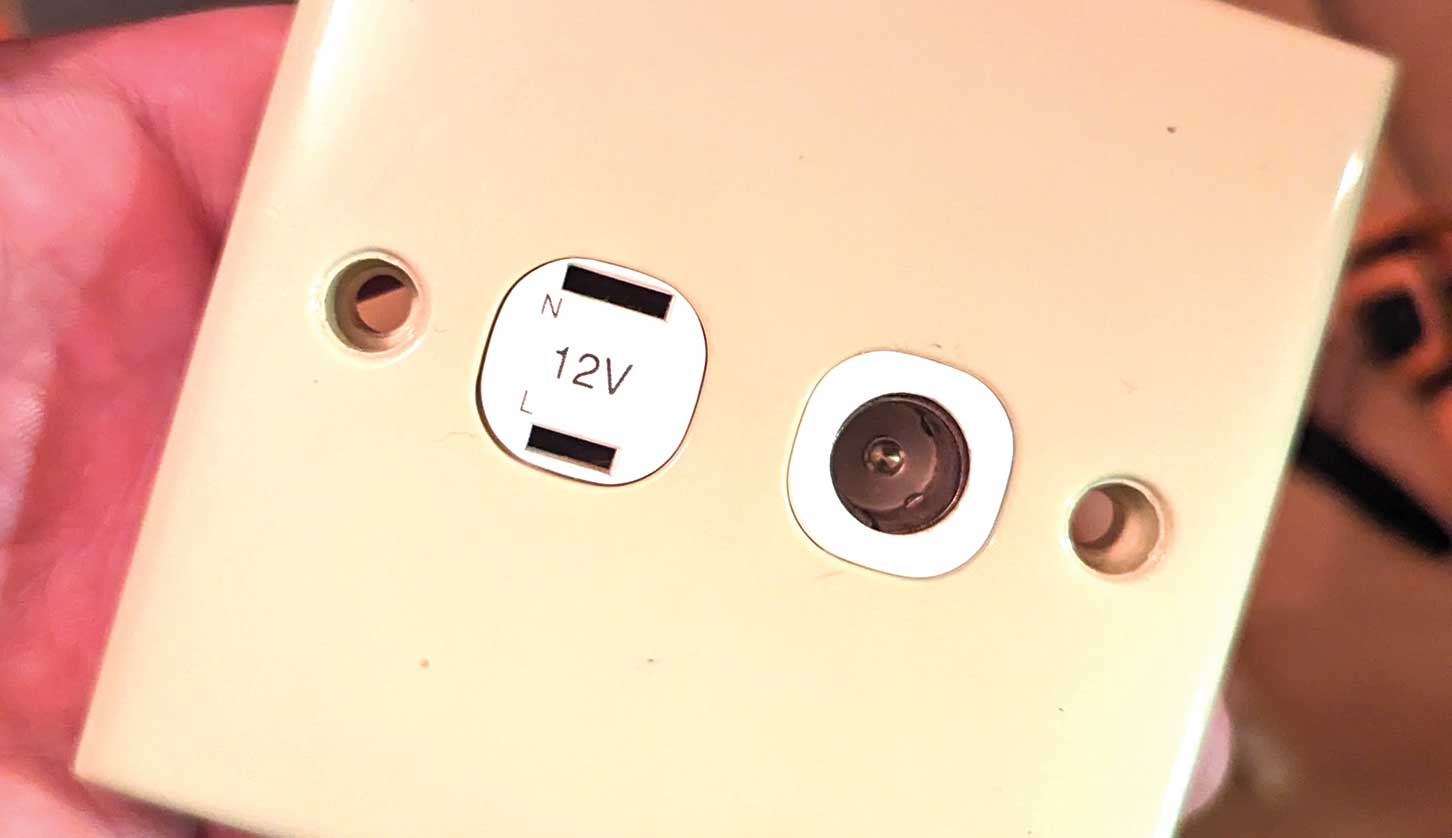
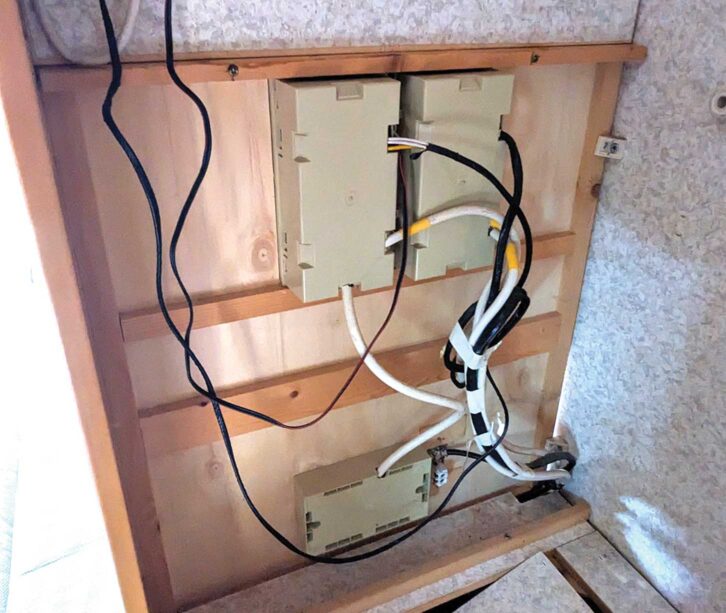
When I looked at the existing set-up, though, I could see that there was already a 12V supply in the wardrobe. This fed the two old-fashioned two-pin 12V sockets all vans used to have.

It appears that from the factory, the cabling supported two of these 12V 15A sockets, so the cabling is adequate for our single cigar-lighter socket.
What was less good was that the cable was spliced into a secondary supply running to the TV aerial booster. From here, the cable ran off into the roof space, where another pair of mysterious terminals were spliced in-line.
Given that the aerial has been damaged and we have no plans to watch terrestrial TV, I simply removed the piggybacked wiring. I planned to use that existing supply to the old 12V sockets to power our cigar-style one. This is perfectly acceptable as a course of action, although I started hatching a plan for a more thorough update over the winter. More of that later.

After safely disconnecting the electric supply, the first job was to remove the socket faceplate from the 12V socket. This involves prising out the blanking plugs for the retaining screws and winding them out.
A few surprises
With this done, I got the first surprise. The TV aerial socket was not actually connected to anything! That could have been annoying as you settled down to watch Strictly. But as far as I was concerned, it was just one less thing to unplug.
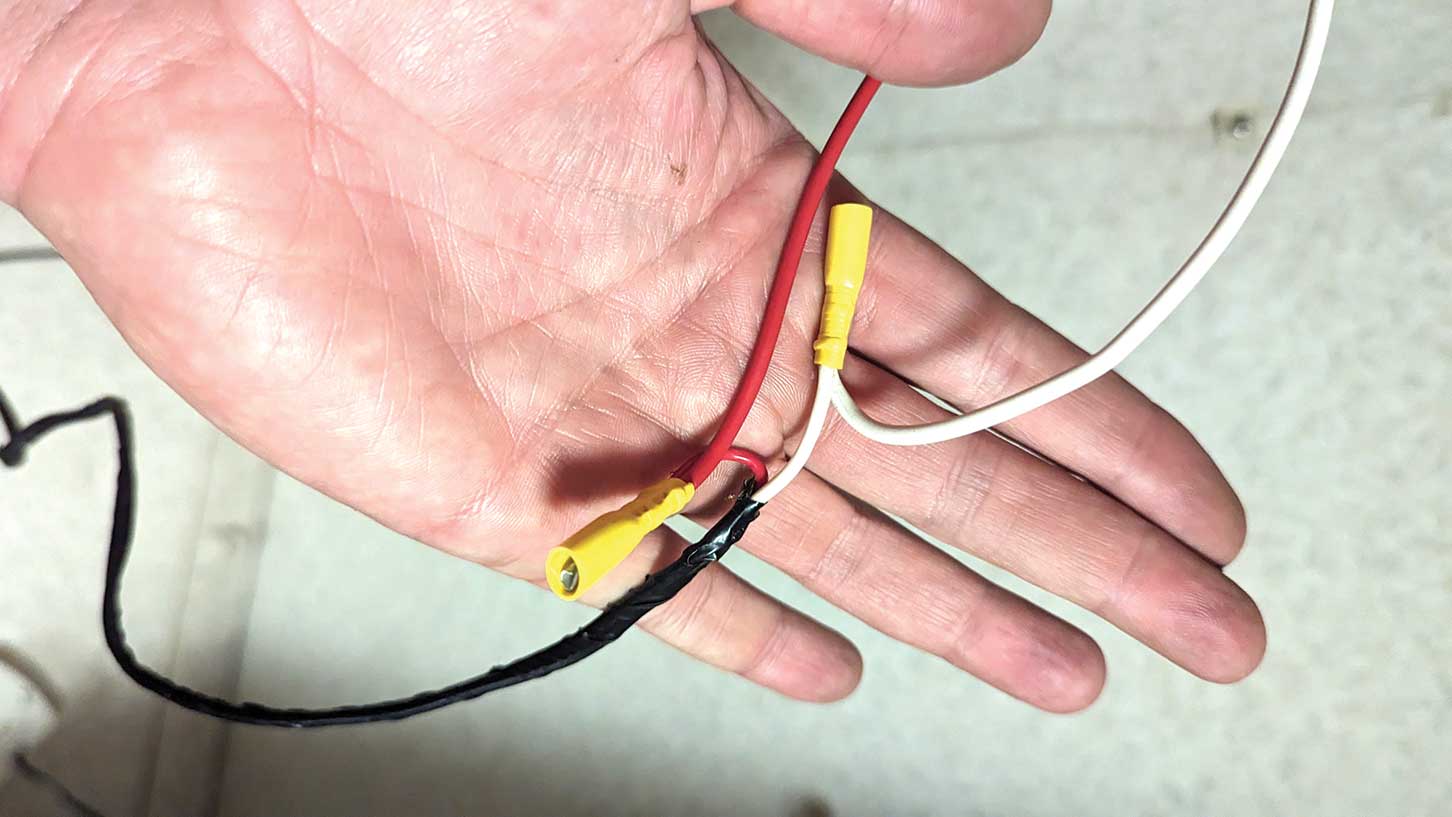
On the 12V socket, one yellow cable was going to the live side of the socket and two white ones were connected to the negative.
Twisted together with them were the feed and return for the aerial booster. These were removed, the cable ends tidied up, and new spade terminals crimped on to connect to our new socket. That new socket needed to mount in something, so I decided to reuse and modify the existing faceplate.

The new cigar-lighter socket needs a 30mm hole to mount it, so after knocking out the 12V and TV aerial sockets from the faceplate, I decided to drill the centre out of the faceplate to us as a mounting.
Drilling the faceplate was not as easy as I had hoped, but with a coat of satin black paint to try to blend things a little, it was acceptable.
The mounting plate for the new socket was mounted to the faceplate, and the whole assembly was built up and then pushed into place.
With the leisure battery reconnected, the new socket worked and I could replace the trim around the sockets and have a bit of a tidy up. The task had been to ensure we would be able to charge our phones in the caravan, and that was complete. But I was not happy with the set-up, as I didn’t know much about how it was rigged up and there was a lot of messy cabling that needed to be checked out.

I decided that we would try to do something a bit more permanent for the next season. Ideally, we would like to have more than one cigar-lighter socket, preferably near the caravan’s front window for 12V phone or laptop charging.
That is going to require a new run of cable, probably from the battery. I already know that the battery terminals are pretty ropey, so I’m planning to replace those.
We also want to add a caravan solar panel, so we don’t end up sitting in the dark when we go to music festivals.
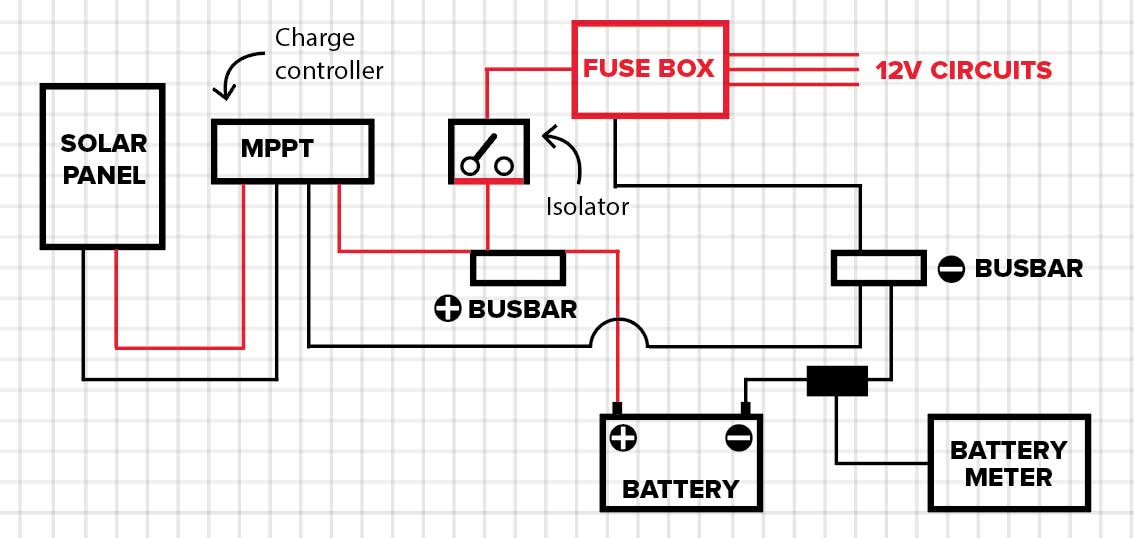
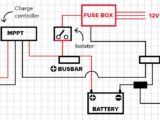
Given that all of this involves 12V, I’ve decided to rewire the 12V side of the caravan over the winter, and I’m going to use a more ‘marine’ set-up, to keep the battery locker tidy and ensure that adding new kit is simple and straightforward.
I also want to add some form of battery monitoring, so we know exactly how much power we are generating from the sun, and using in our devices.
This will involve new cables to and from the battery. Both cables will run into the van to busbars. These are heavy-duty terminal blocks that allow new devices to be added without disturbing the battery terminals or squeezing additional cables into the battery box.
We can attach a monitor on the negative side of the battery for monitoring battery usage.
This sort of technology isn’t worthwhile if you are always on a hook-up, but when you are relying on a battery, it’s vital to manage your power.
So for now, I am researching the best ways to update our Bailey’s power systems on a sensible budget. Meantime, at least we can charge our phones, even if we aren’t on a hook-up.
After getting your DIY done it’s time to head out in your van! Take a look at our caravan towing tips for our top advice to ensure you have a safe and enjoyable experience on the road.
Future Publishing Limited, the publisher of Practical Caravan, provides the information in this article in good faith and makes no representation as to its completeness or accuracy. Individuals carrying out the instructions do so at their own risk and must exercise their independent judgement in determining the appropriateness of the advice to their circumstances and skill level. Individuals should take appropriate safety precautions and be aware of the risk of electrocution when dealing with electrical products. To the fullest extent permitted by law, neither Future nor its employees or agents shall have any liability in connection with the use of this information. You should check that any van warranty will not be affected before proceeding with DIY projects.
If you’ve enjoyed reading this article, why not get the latest news, reviews and features delivered direct to your door or inbox every month. Take advantage of our brilliant Practical Caravan magazine SUBSCRIBERS’ OFFER and SIGN UP TO OUR NEWSLETTER for regular weekly updates on all things caravan related.