What could possibly go wrong with a caravan chassis when you’re merrily heading off on holiday with the van following behind? Don’t wait to find out — follow our simple Practical Caravan DIY guide to maintaining your caravan hitch head, jockey wheel and corner steadies.
There’s a good reason why we’re looking at these areas — the hitch is the part that keeps the caravan coupled to the tow vehicle and is the first part of brake operation, so regular maintenance is essential.
While the corner steadies aren’t quite as important with regards to safety, it’s much easier to operate one that has been correctly maintained and moves smoothly.
DIY caravan maintenance equipment checklist
For these tasks you will need:
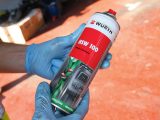
- Spray brake cleaner or degreaser
- Cloths
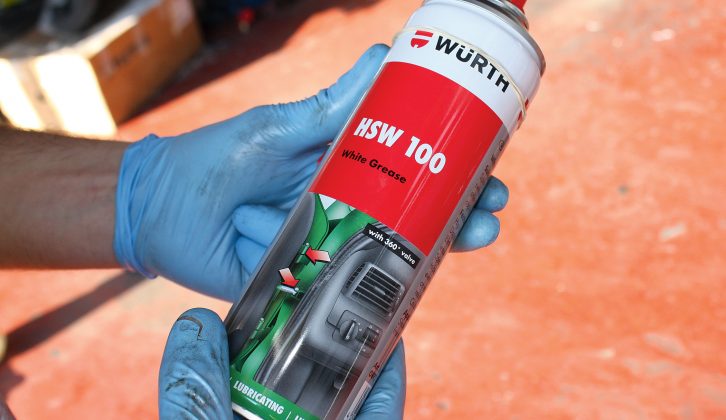
- Spray white grease
- A tub of lithium grease
- Grease gun
- Rubber gloves
Check the caravan hitchlock
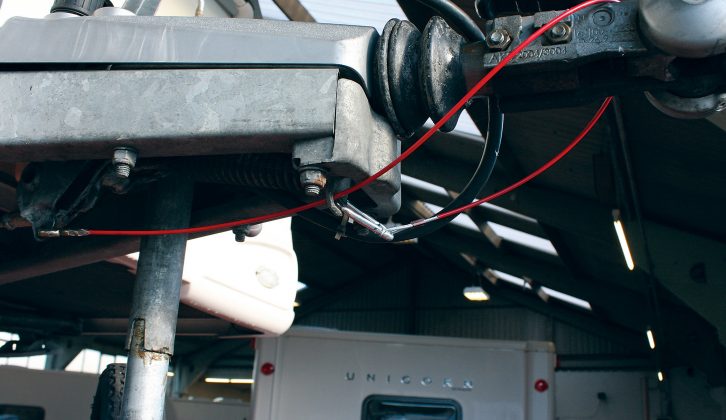
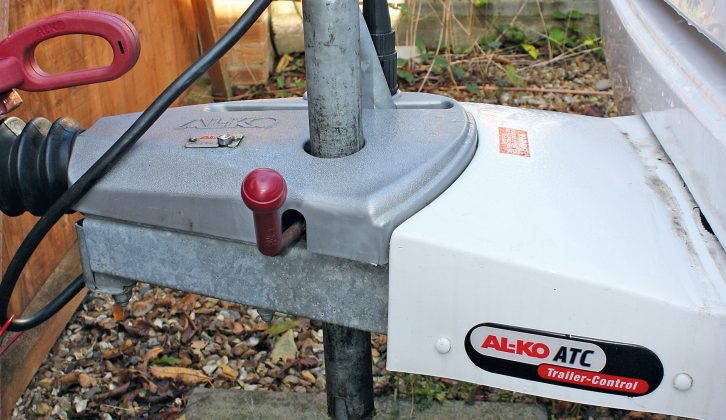
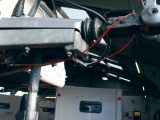
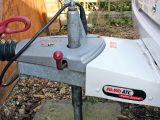
Start by removing the hitchlock and chocking the wheels. From the front, try to push the hitch towards the back so you compress the ‘bellows’ between the hitch and the A-frame.
You should meet a good deal of resistance, which indicates that the damper unit within the hitch is working correctly. If there’s very little or no resistance, the damper may be faulty and need replacing.
Try wiggling the hitch head around. The tiniest amount of movement is acceptable, but if it rattles around quite a lot, other issues need to be investigated. A good greasing may cure it, and we’ll cover that later.
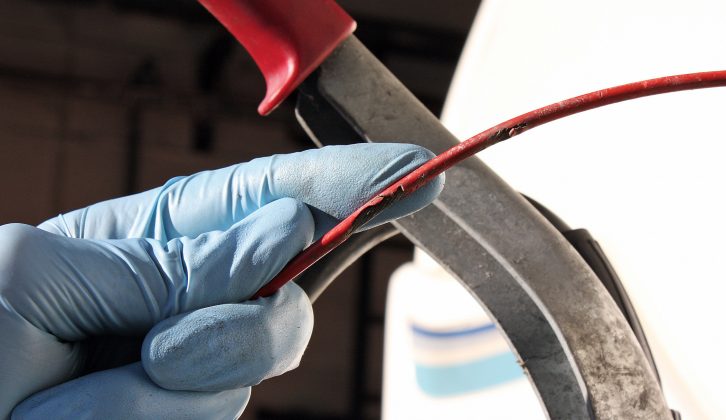
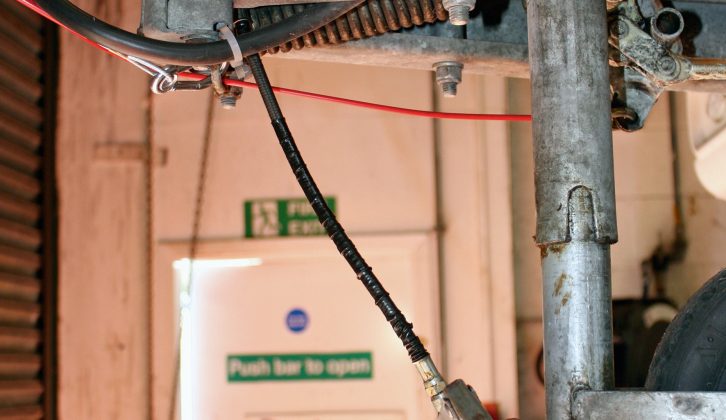
Assuming that all’s well with the hitch, check the breakaway cable. If there are any signs of damage to the plastic outer casing or, worse still, the cable itself, replace it. A new one is inexpensive, but it’s essential that the cable is capable of pulling the caravan’s brakes on if the tourer becomes unhitched from the car. A damaged one may snap without doing its job.
Grease is the word – maintain the brakes
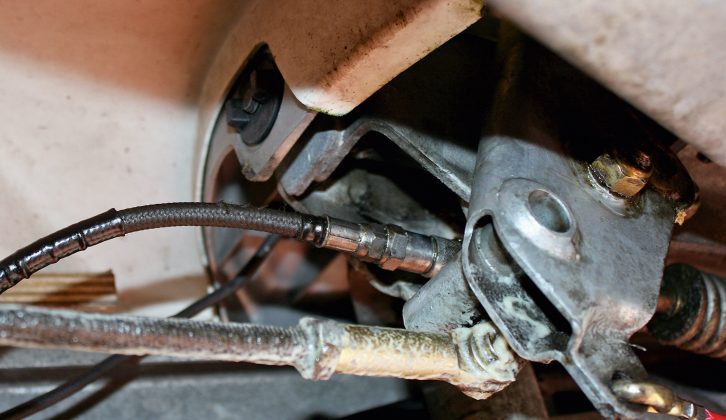
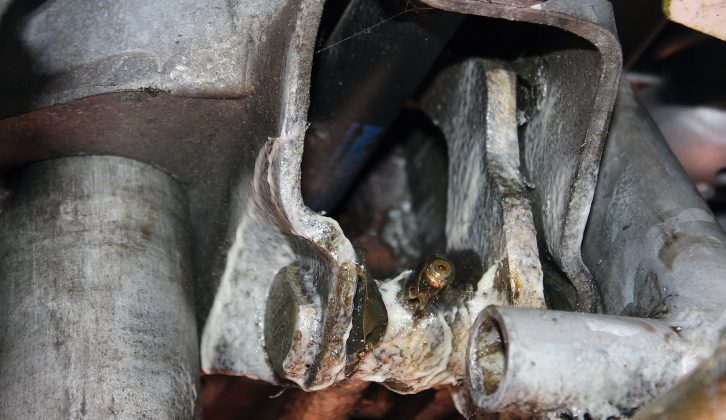
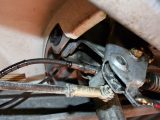
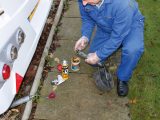
From under the A-frame, have a look at the handbrake mechanism. Use brake cleaner and a cloth to clean off all the grime and old grease.
Once it’s clean, you’ll see a grease nipple. Put a squirt from the grease gun into this. Grease should seep from various places; just wipe off any excess that’s likely to drop off. If no excess grease oozes from anywhere, add a little more until it does.
How to care for the jockey wheel
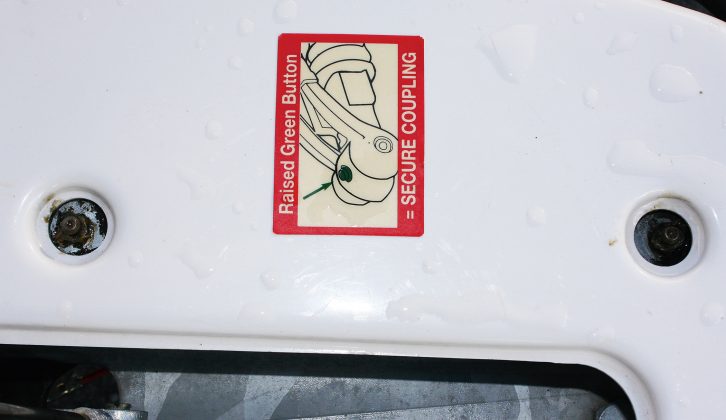
Some caravans have a couple of grease nipples at the top of the A-frame; they are usually clearly visible through any fitted fairing. If they’re not, though, there will definitely be another grease nipple under the hitch somewhere towards the front.
There’s no hard-and-fast rule here, and either case may apply to an Al-Ko hitch. Whether it’s the two above or a single one underneath (as well as one at the bottom of the handbrake), give a squirt from the grease gun, and check around as with the handbrake mechanism. Ideally, you want to see a little grease seeping because that indicates sufficient lubrication — just not an excessive amount.
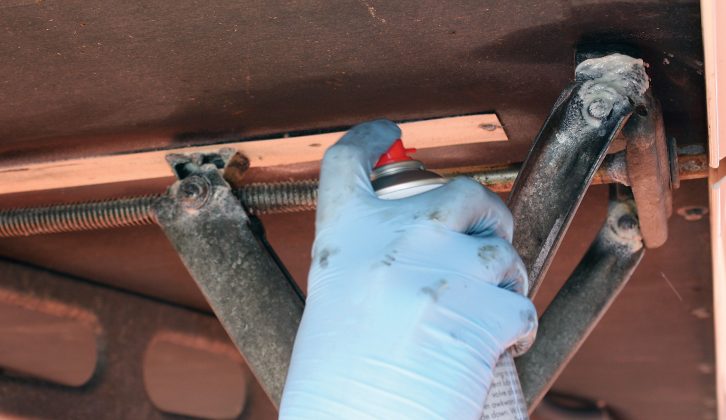
It won’t hurt to spray some white grease around the various moving parts under there, too.
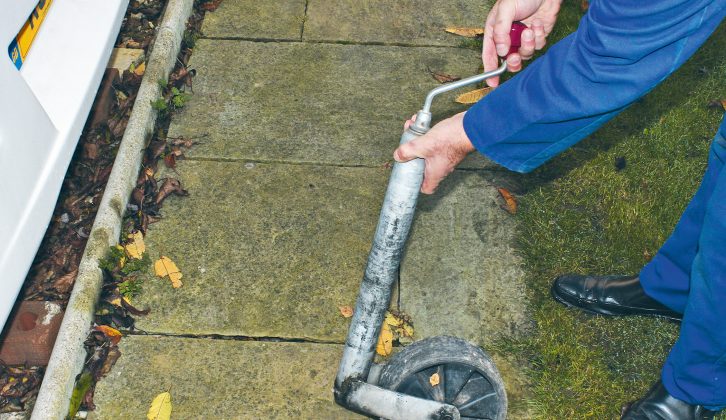
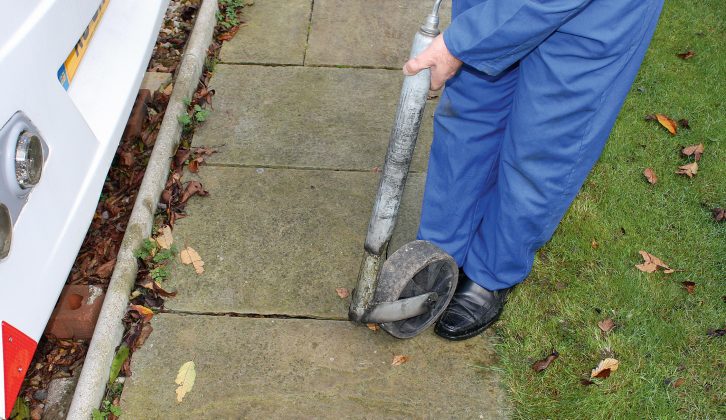
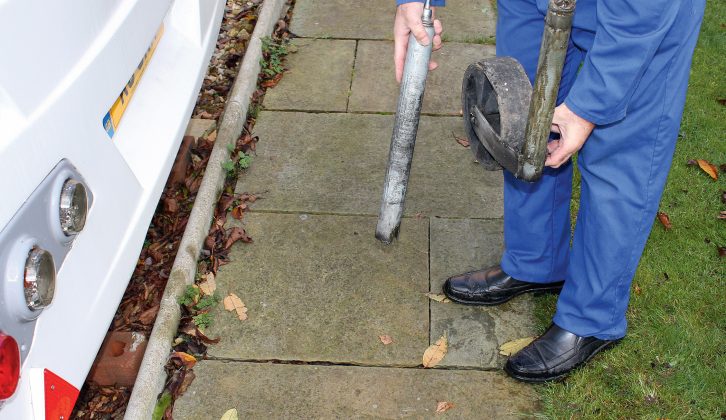
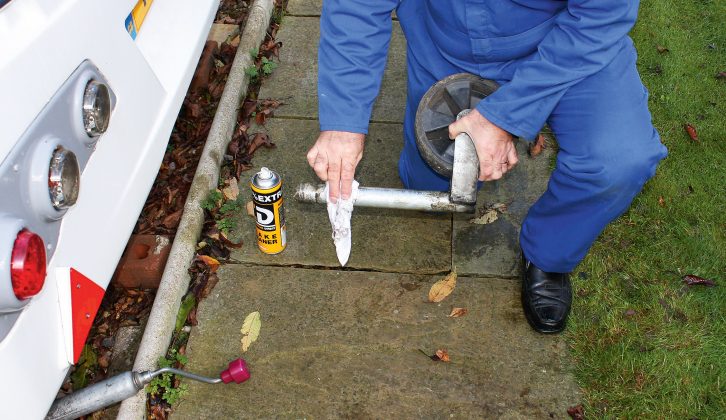
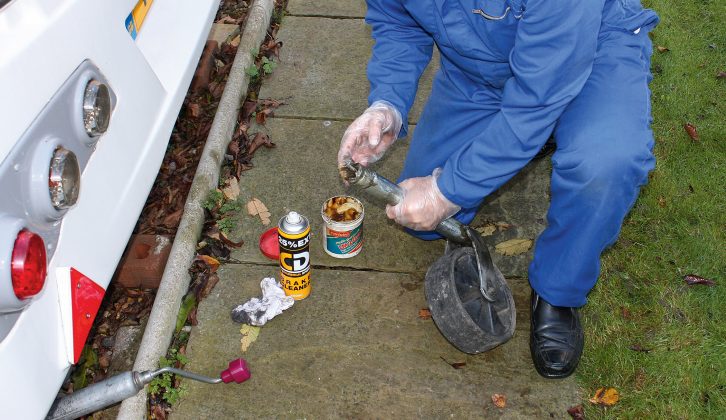
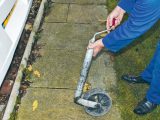
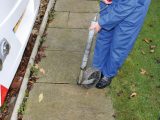
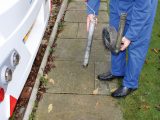
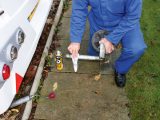
With the corner steadies lowered, remove the jockey wheel. Some are simply clamped to the side of the A-frame, while others pass through it. In the case of the latter, you’ll have to undo the locking handle on the side of the A-frame, and then unwind the top part of the jockey wheel from the bottom so you can remove it. In either case, the two parts must be separated. Using the spray brake cleaner, clean off any grease and dirt from the lower part (the part with the wheel attached). Inspect both parts for damage, and if everything seems OK, fill the lower part’s tube with lithium grease.
Reassemble the two parts, wind it to its fully closed state, and unwind again, but not necessarily to separate the two parts unless it’s to reattach the jockey wheel to the A-frame. Wind it in and out a couple of times and ensure that everything works smoothly. You’ll probably find that the outside of the lower tube has a smearing of clean grease on it, which is fine. Refit the assembly to the caravan.
Clean and lubricate the corner steadies
Finally, it’s the turn of the steadies. Before working on the front steadies, raise the A-frame by using the jockey wheel; before starting on the rear pair, lower the A-frame.
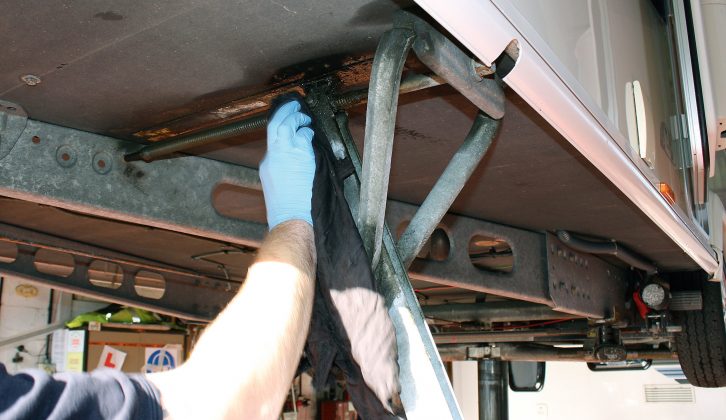
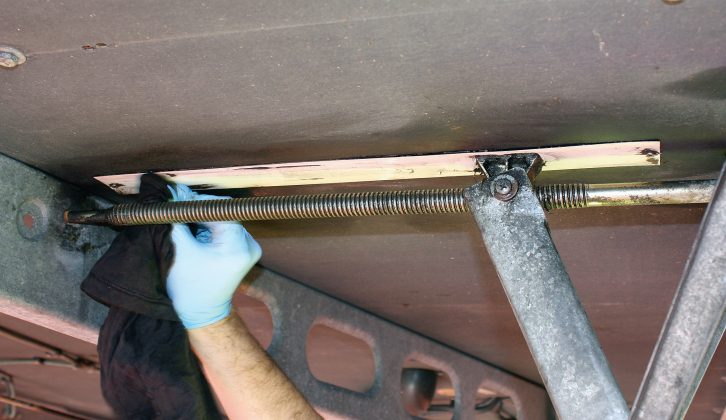
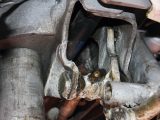
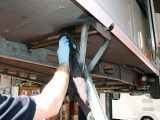
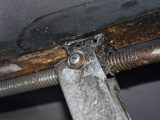
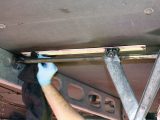
Get under the van to spray the screw thread with brake cleaner and wipe off any old grease and grime. Inspect the thread for bends or other damage. Then clean around all the pivot points.
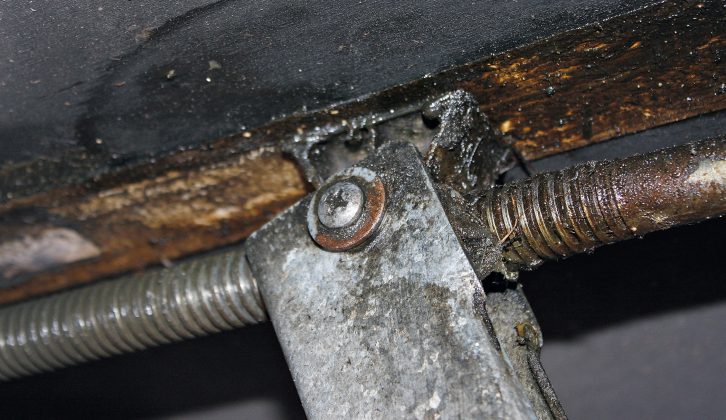
Check the crosshead screws near the steadies’ screw threads; you’ll find them below the slider — the part that moves along the sliding plate that is fixed to the underside of the van floor. Ensure that the screws are secure, because there is a risk, however slight, that they could drop out.
While in that area, clean around the slider and the sliding plate. You’ll have to wind the steady a little to clean everything.
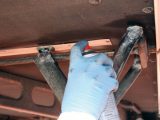
Once you’re happy that it is all as clean as it can be, spray the screw thread and all pivot points with white grease; don’t forget both ends of the screw thread where they pass through securing points. You can use lithium grease, but it attracts more dirt than spray grease.
Test the corner steady to be certain that it operates quietly and smoothly. Repeat the procedure for the other three.
With thanks to Wayne of Yorkshire Caravans in Bawtry for his photographic assistance.
There’s plenty more caravan DIY advice in every issue of Practical Caravan to help you keep your caravan in top condition inside and out.
The hitch is the part that keeps the caravan coupled to the tow vehicle, so regular maintenance is essential
