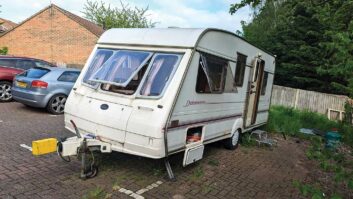


The initial excitement of getting our new project – a 1998 Bailey Delamere caravan – on the drive ebbed away after a while, replaced by the need to get things done for her maiden voyage.
We’d recently bought her for £1,200 off of Facebook Marketplace but now needed to make sure she would be ready for our first tour, where we’d be taking her to a music festival.
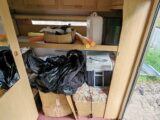
First up was a clear-up and clear-out. When you’re buying a used caravan, you may find it comes with ‘stuff’ squirrelled away by the previous owner. We found a TV/DVD player, some superhero DVDs, two toasters, a kettle, some cushions and all manner of other stuff which was sorted, binned or donated to the local charity shop depending on how useful it was.

For our first outing, we were keeping things simple. We weren’t going to use gas as we wouldn’t have time to get it tested, and the standard three-way fridge has been replaced by a domestic mains one; we’d be relying on a Cadac and a cool box for the weekend. We did need to ensure that the van (Penny) was safe to tow and could provide a bed, a toilet and some lighting so we weren’t sitting in the dark though.
Practical Caravan is supported by its audience. When you purchase through links on our site, we may earn an affiliate commission. Learn more.
The initial checks of the 1998 Bailey caravan
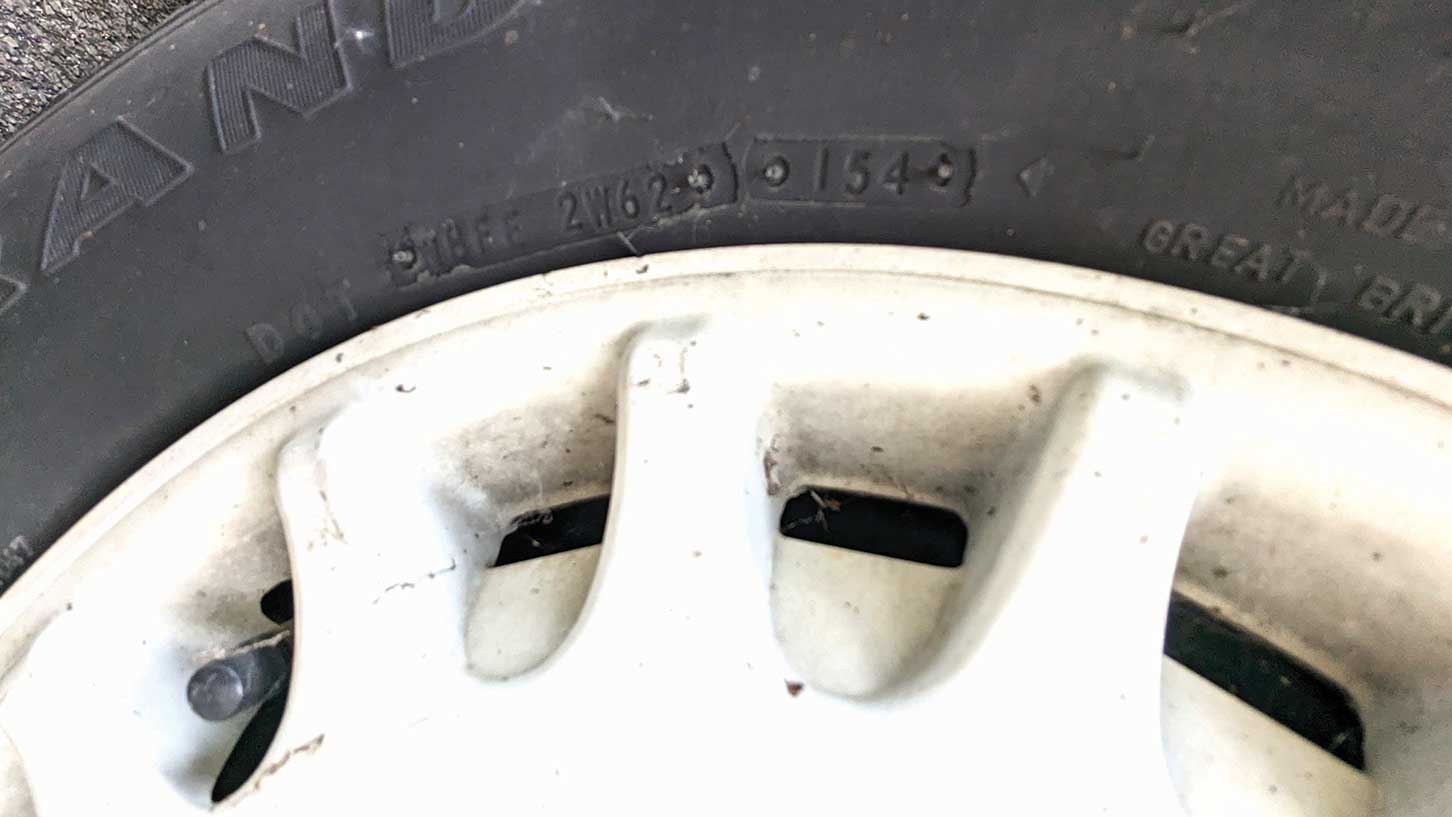
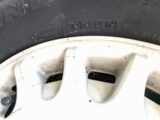
We checked over the safety items first. The initial place to start with any tourer is checking the caravan tyres. By law, tyres are required to carry a date code. Once they are five years old, thorough inspection is vital and replacement should be factored in at the first sign of deterioration.
We’d been told the van had a recent tyre fitted, but the date codes told us that our rubber was ready to be retired – in every sense of the word. The ‘new’ tyre was 15 years old and had a slice in the sidewall, so that went straight in the bin. Once I’d looked up the other one, I had to do some research to check that I wasn’t reading the code wrongly…

It was a Goodyear tyre with a three-digit date code, indicating it was from 1994 – four years older than the caravan. On inspection, it was in much better shape than its newer compatriot across the axle but, after 29 years, we felt this was a penny not worth pinching and ran the wheels to our favoured tyre suppliers. They fitted a pair of new 14in commercial vehicle tyres for £130, including balancing. With a bit of luck they could be good for the next 29 years…
With the wheels off and the caravan securely supported on axle stands, we were able to get to the brake adjusters and check that things were working. Aside from a lot of cobwebs and a stiff adjuster on the offside, things were in reasonable shape. We will, though, return for a full freshen up later in the season.

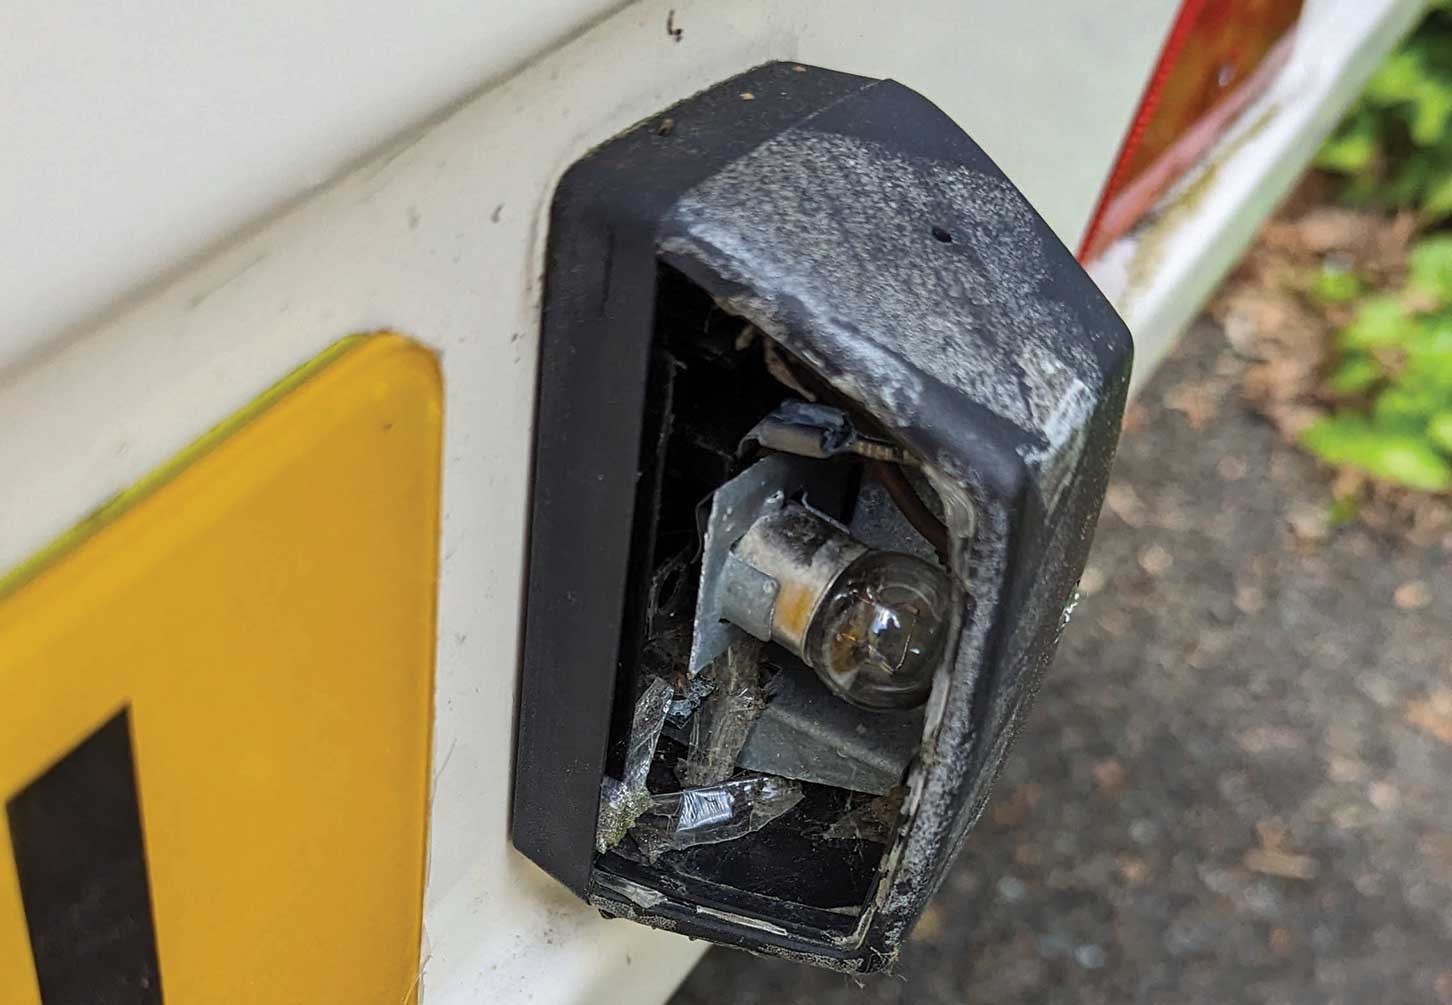
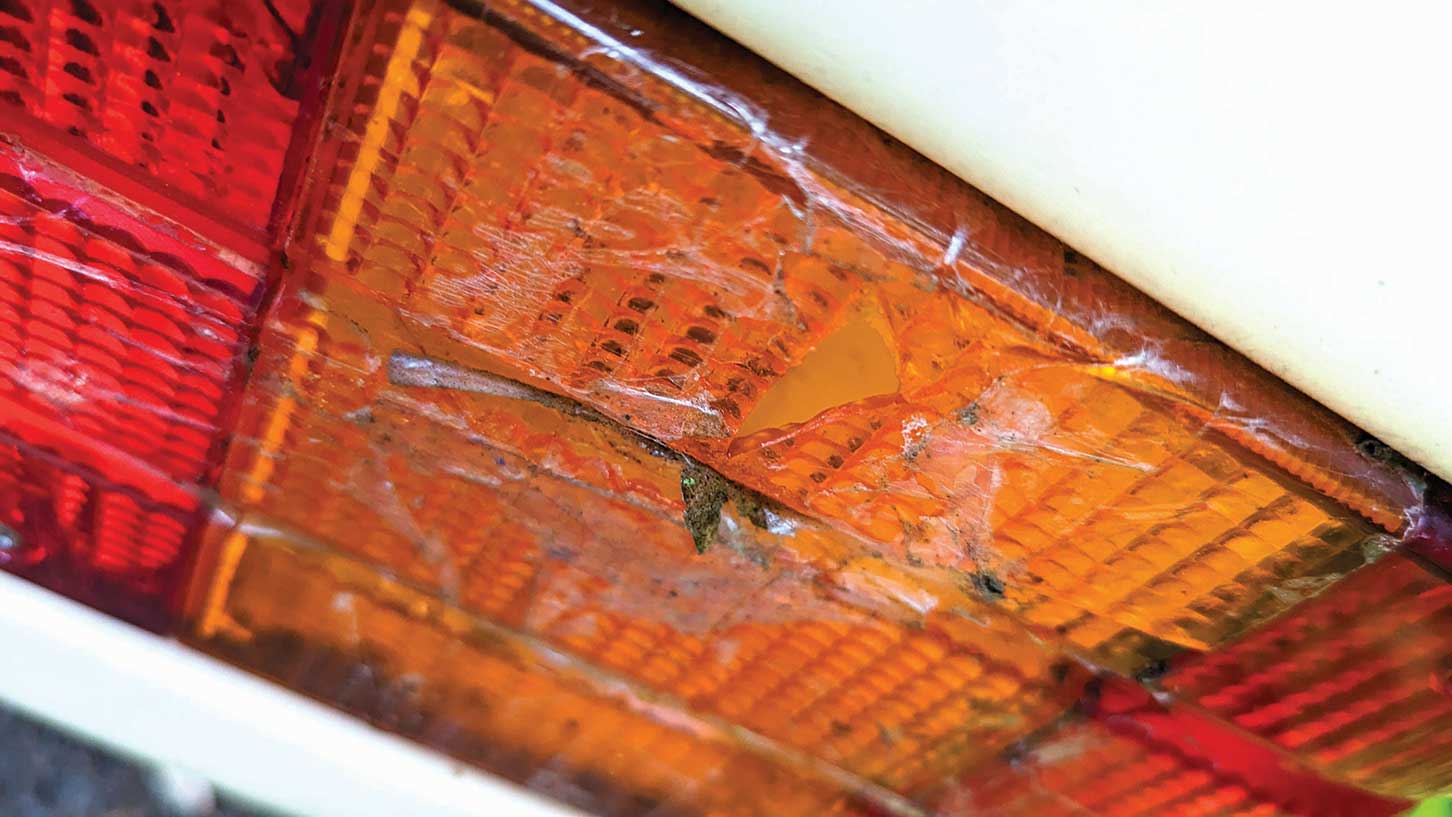
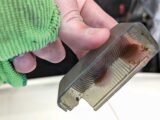
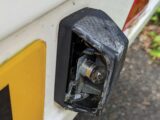
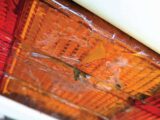
One thing that does age badly on the outside of a caravan is plastic. Our windows and body mouldings are in pretty good shape, but the light lenses are a bit of a mess, having gone brittle and cracked. One of the rear lights has had a crude repair applied with a bit of Sellotape, the number plate light lenses have crumbled away entirely and the front marker lights are cracked and full of water. All still worked, but for how much longer?
The number plate lights are pretty standard and easily available. With the damaged ones dismantled, I was able to extract a part number and find replacements online. It was the same for the front marker lights, which are Britax 881 lenses used on loads of things and easily available new for under £20 for a pair.
Onto the cleaning
The main rear light lenses are a trickier prospect to match. For the time being, I have noted the part number (they are Jokon lenses) and we’ll live with the scruffy appearance. I’ve set up an eBay alert in case one appears for a sensible price.
After buying a used tourer, cleaning a caravan is always going to be high up on your list of priorities. Due to Penny’s age, there is no hitch head stabiliser to worry about, so I cleaned up all the grime around the tow gear, greased up where needed and generally looked for signs of trouble. The main thing I noticed is that the handbrake works, but has a habit of slipping off the ratchet if you aren’t precise with it. The carabina-style overrun cable looks a little homemade, too, so a freshen up here is also on the cards.
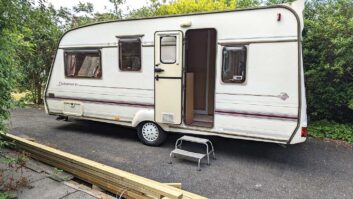
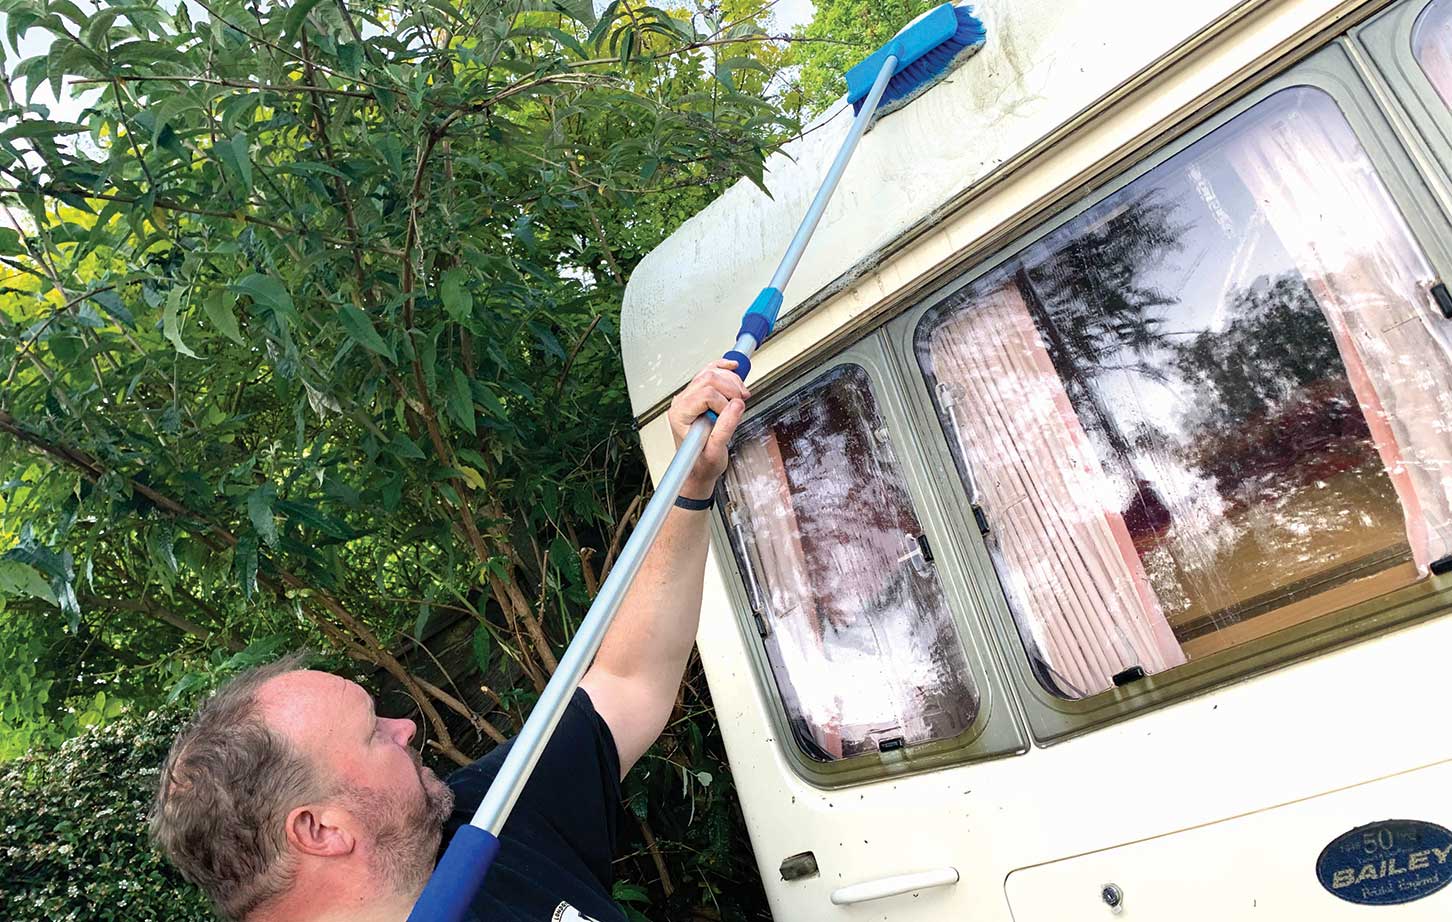
The final big task was to clean up the outside. I’ve always liked Fenwicks Caravan Cleaner for the initial clean up of a filthy van. It is pretty good value and formulated for tourers, as well as being a shortlisted contender for the best caravan cleaner at the Practical Caravan Awards 2024. Traffic film remover is effective but you’re never quite sure what damage it might be doing to plastic and rubber trims if you don’t get the ratio of water to detergent correct.
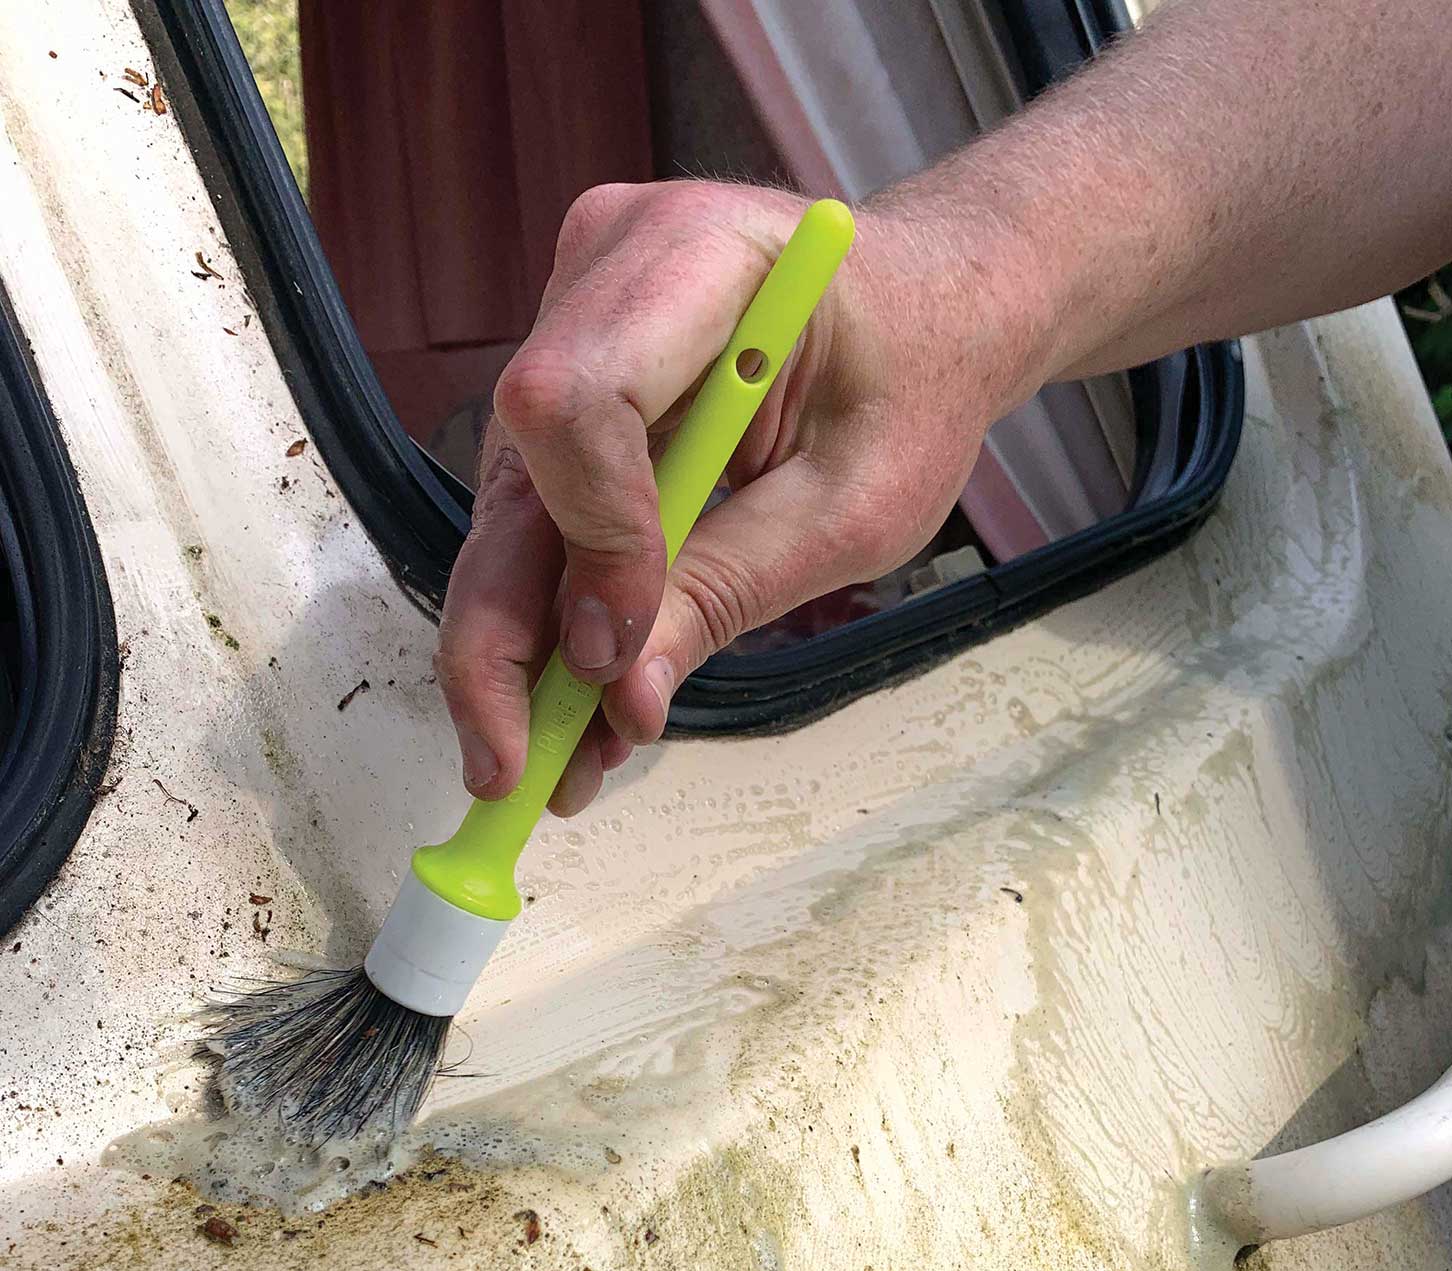
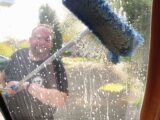
I treated myself to a long-handled Hilka brush with a hose attachment from Argos, and set about cleaning years of grime off the van. We opted for a hosepipe, sponge and a couple of detailing brushes – I suspect that 29-year-old caravan sealant appreciates a gentle cleaning approach rather than the brute force of a pressure washer.
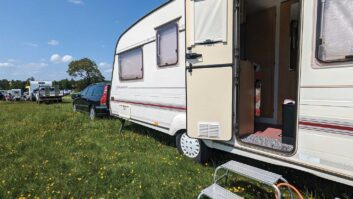
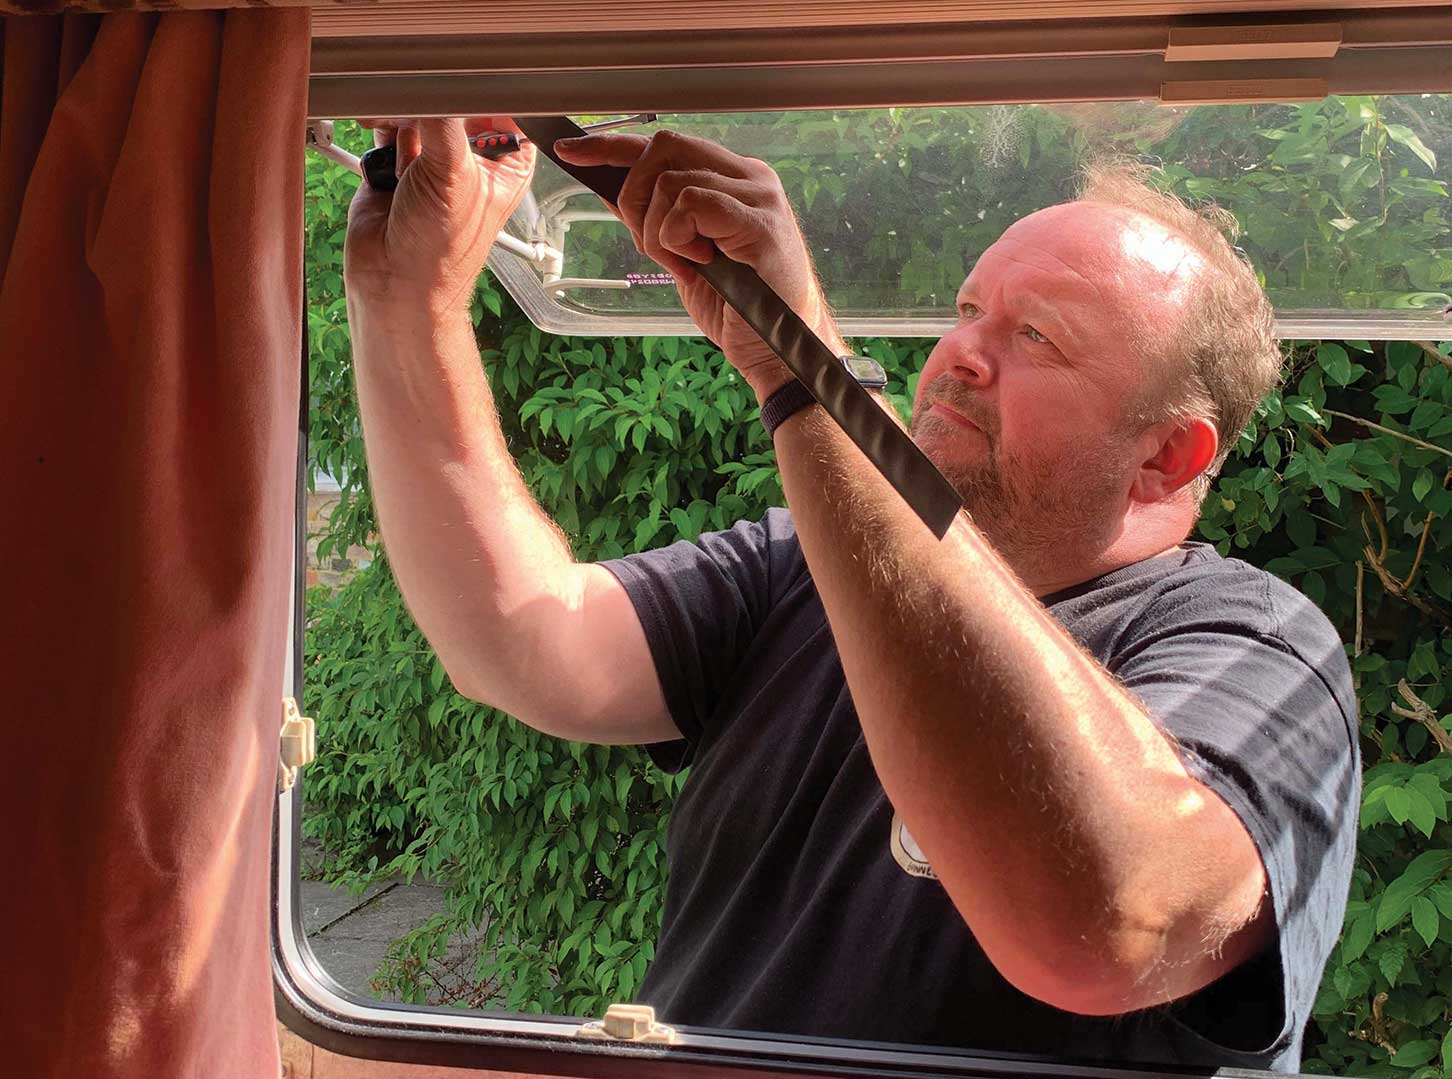
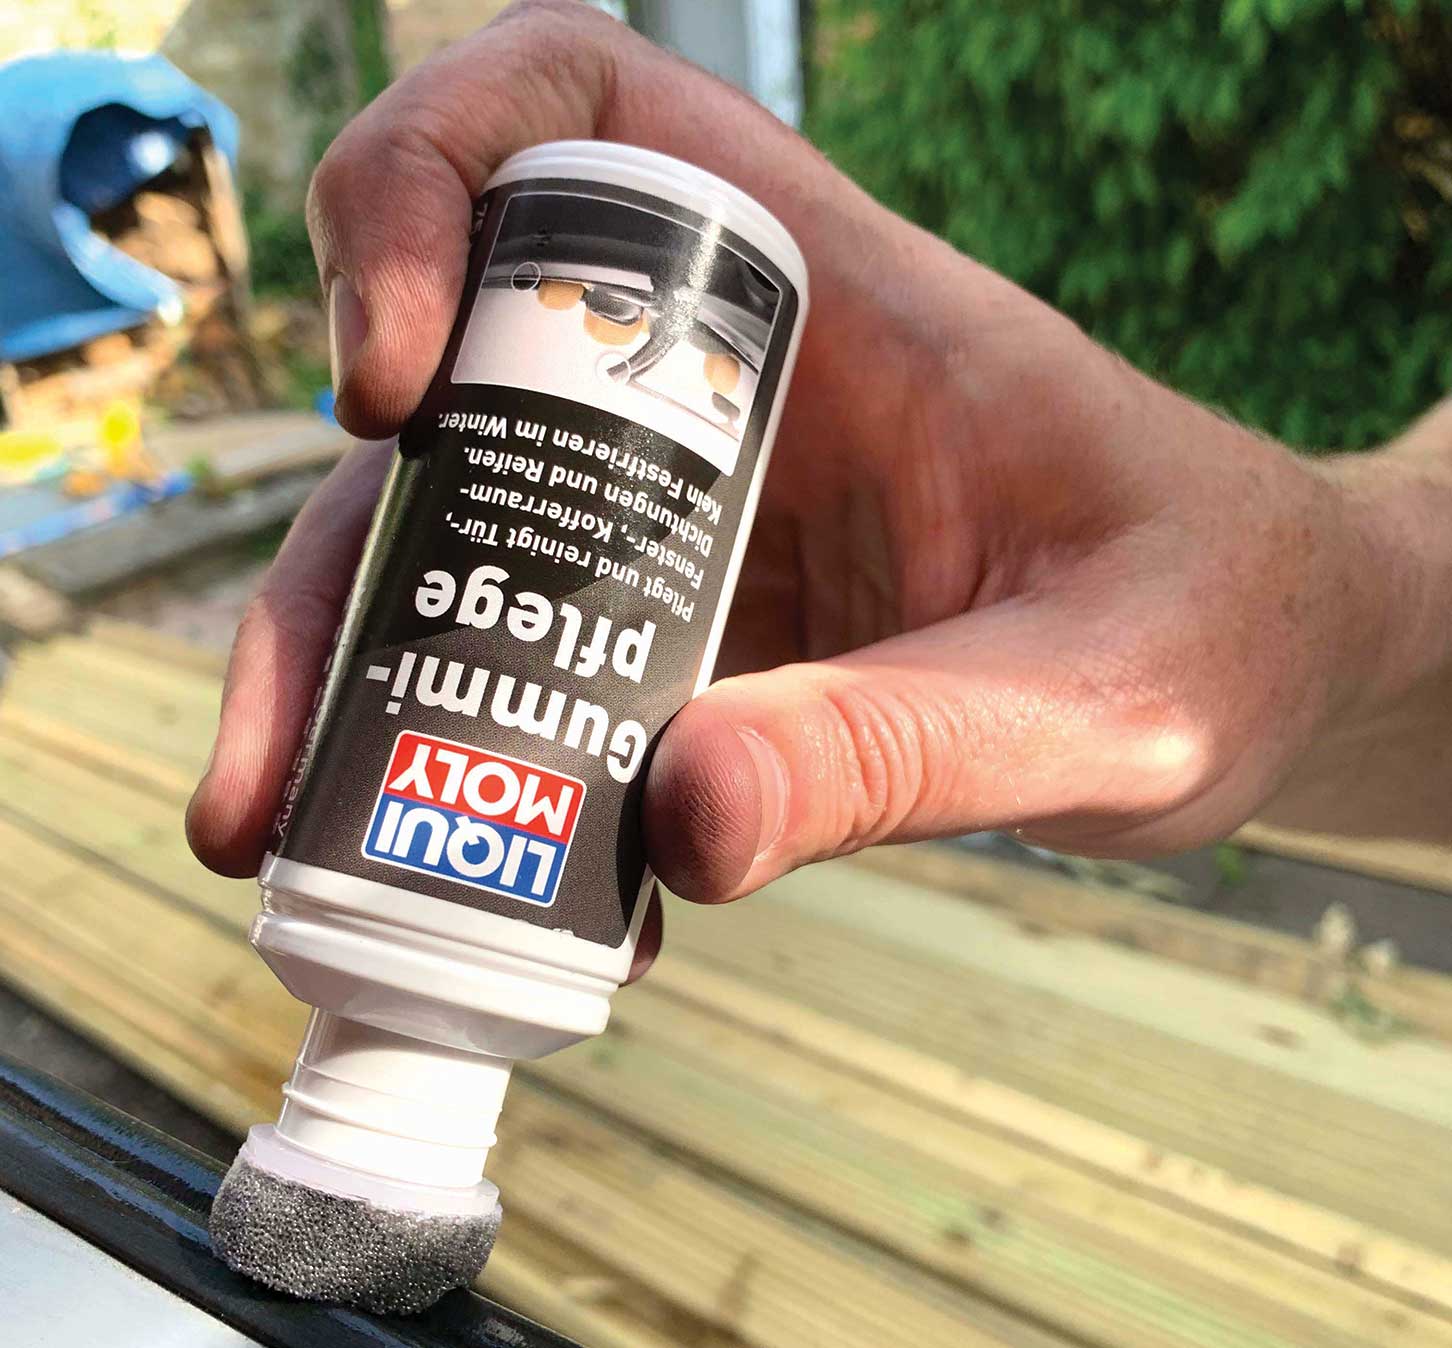
With the major clean-up work done, we turned to the windows. When we opened them we found many were stuck. All the hinges responded well to a bit of white lithium grease and the windows themselves looked a huge amount better after a buff with Autoglym Fast Glass. We also used Autoglym Vinyl & Rubber Care, which helps soften the rubber seals and remove the tackiness.
After a wipe down of the inside surfaces and a run round with the vacuum cleaner (see: the best caravan vacuum cleaner if you need one), we were all set for our first trip, where we would no doubt learn even more about our Penny.
Future Publishing Limited, the publisher of Practical Caravan, provides the information in this article in good faith and makes no representation as to its completeness or accuracy. Individuals carrying out the instructions do so at their own risk and must exercise their independent judgement in determining the appropriateness of the advice to their circumstances. Individuals should take appropriate safety precautions and be aware of the risk of electrocution when dealing with electrical products. To the fullest extent permitted by law, neither Future nor its employees or agents shall have any liability in connection with the use of this information. You should check that any van warranty will not be affected before proceeding with DIY projects.
If you’ve enjoyed reading this article, why not get the latest news, reviews and features delivered direct to your door or inbox every month. Take advantage of our brilliant Practical Caravan magazine SUBSCRIBERS’ OFFER and SIGN UP TO OUR NEWSLETTER for regular weekly updates on all things caravan related.