
Winter weather is not very inviting when it comes to plans for caravan tweaking, but it’s the perfect time to run the rule over a few potential projects and ensure that you have all
the necessary parts on hand when the sun finally decides to put in an appearance. Now, it was time to take a look at the plumbing and the A-frame.
Originally, I’d pencilled in getting the caravan water system up and running. We did have partial success in this regard, but ultimately, more parts are needed, so the net was cast wider while we waited for the deliveries to arrive.
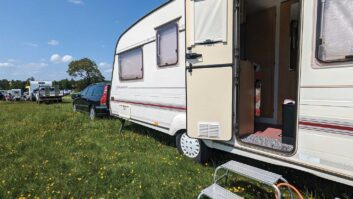
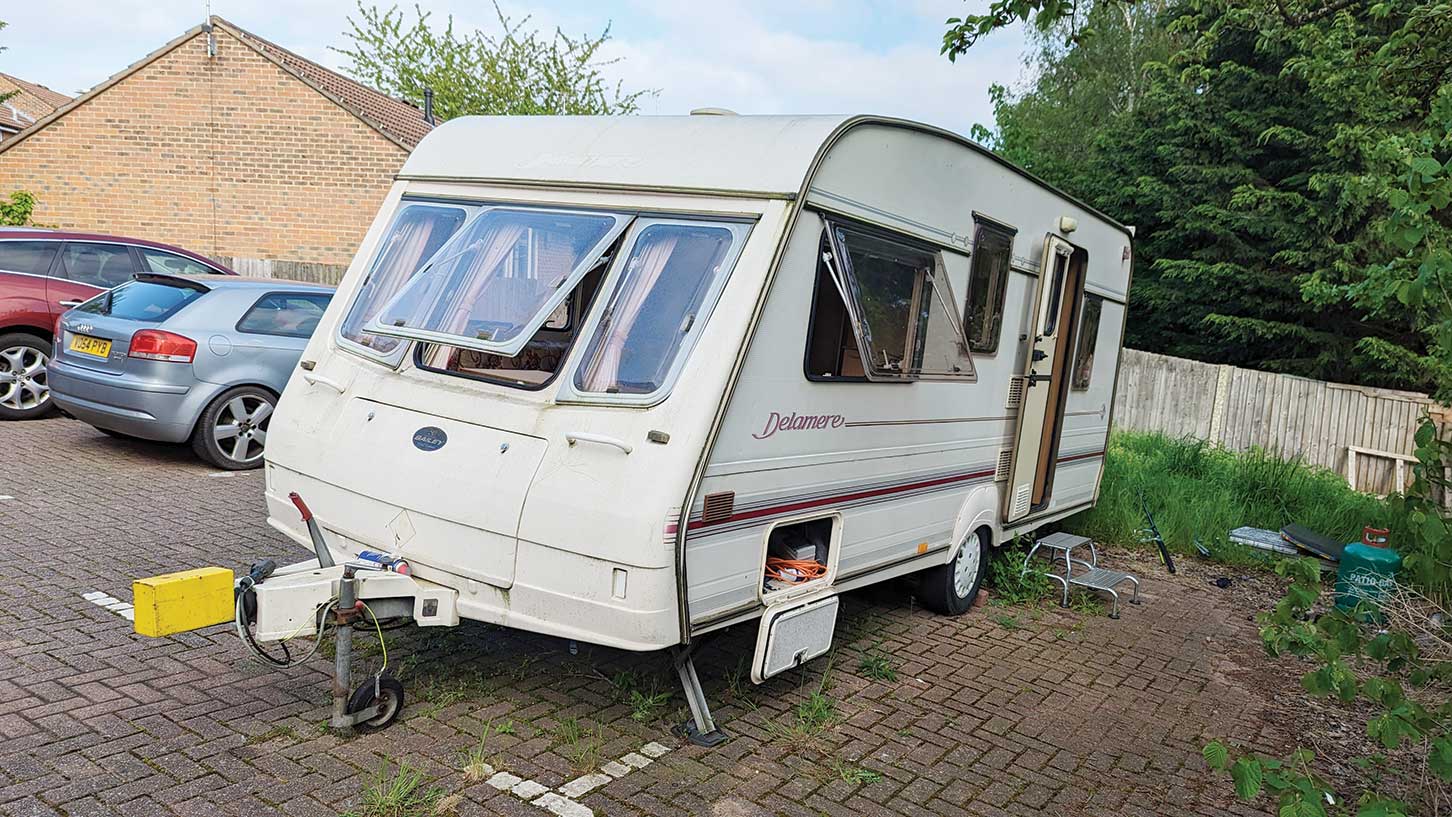
Penny’s previous owner had warned us that he’d never really used the water system when we bought the 1998 Bailey Caravan for £1,200 from Facebook Marketplace, saying rather memorably that he’d used the van as a “tin tent”.
As I quickly confirmed, very few of the onboard systems were used and consequently, none was in the best shape. We’d checked over the electrics and got the gas heater working, but the plumbing was still a bit of an unknown quantity.
One of the things we did know about was sorted. We fashioned a wrench to remove the water filter from the housing. This allowed us to get a new filter on order and start the system’s journey back to recovery.
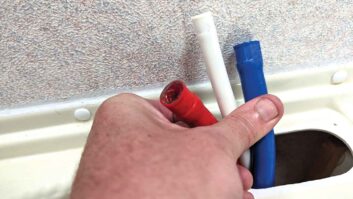
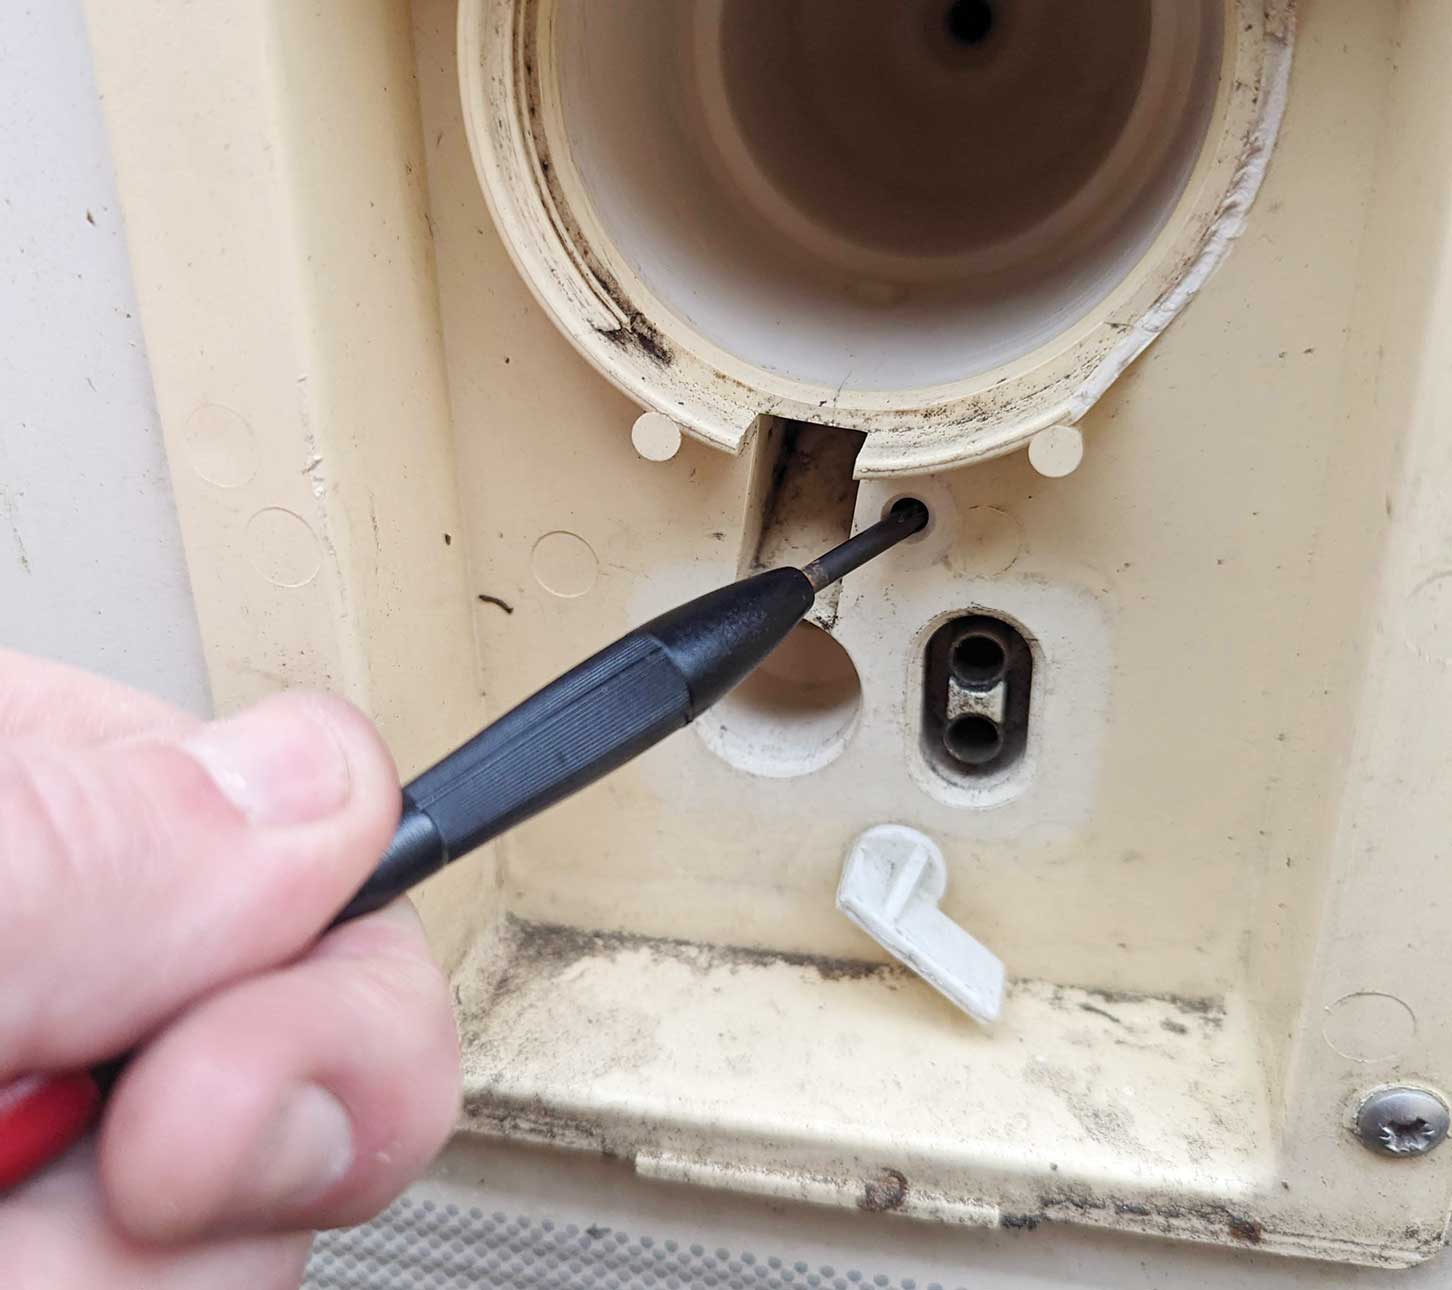
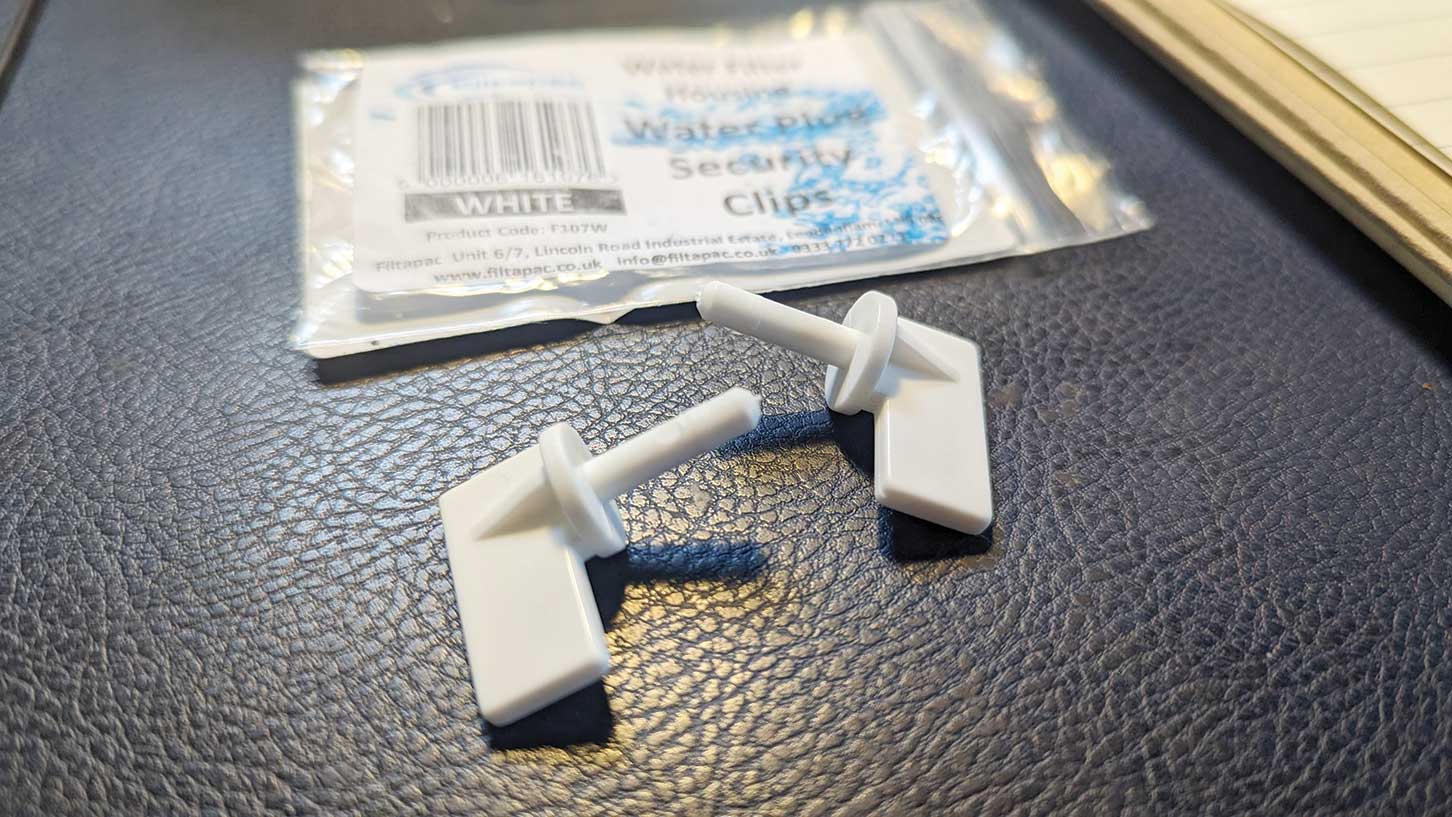
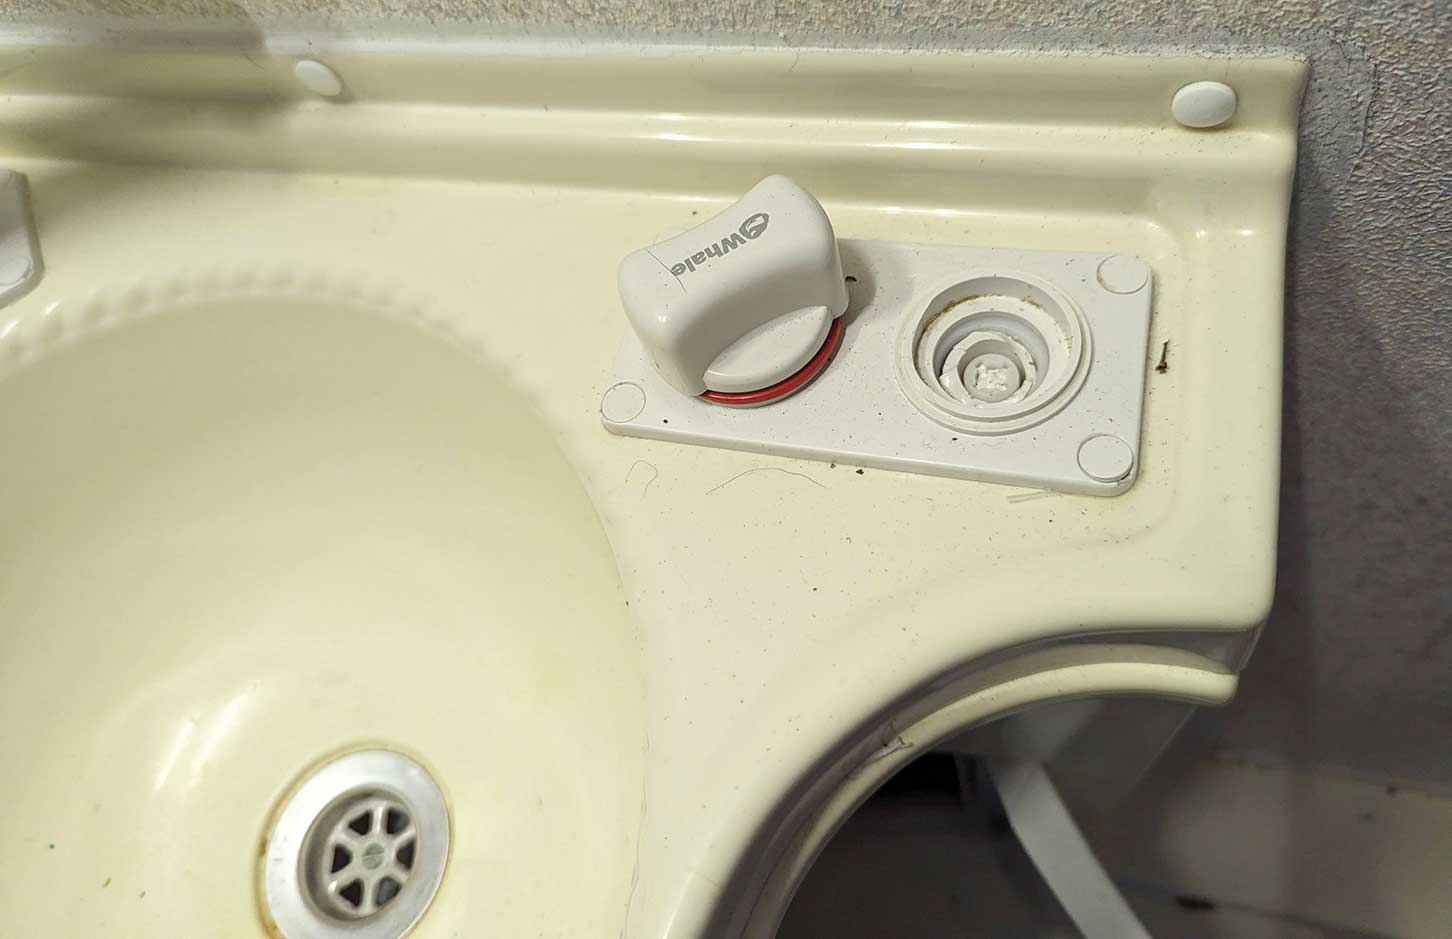
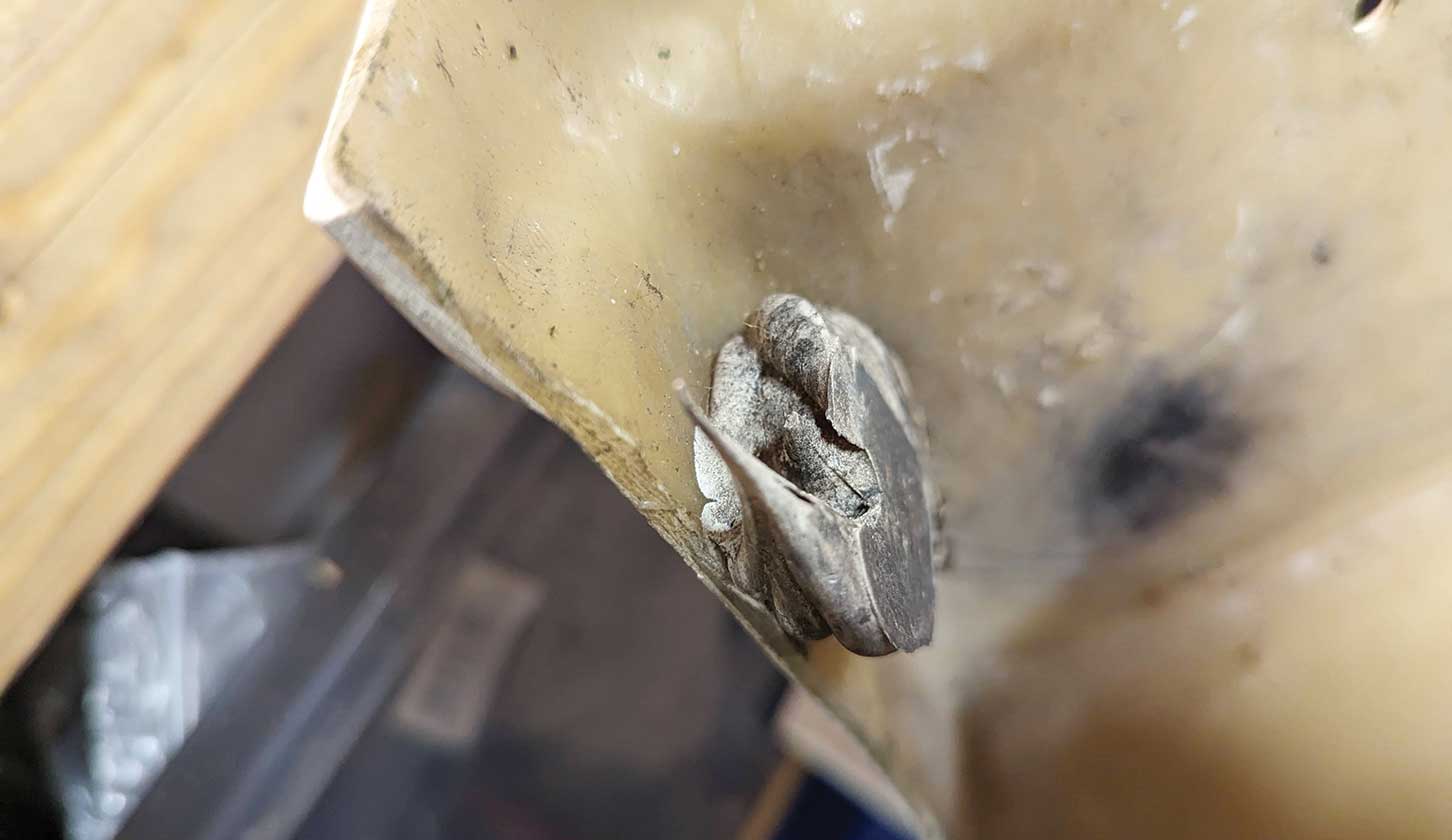
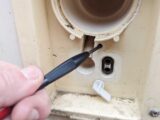
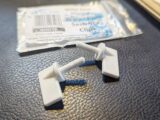
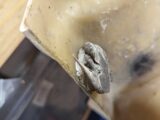
We also noticed that one of the rotating plastic tabs, which hold the submersible pump snugly against the water inlet, was missing. We ordered a pair of these for £4.

They don’t come with any instructions, but are impossibly simple to install. You need a small screwdriver or drift to push the remains of the old clip through the hole, and then you simply slide the new one into place. I didn’t think this looked likely to work, but the new tab actually slipped easily into place. Perhaps a little too easily. It didn’t feel as though it was sufficiently snug to hold the pump against the inlet very well, but the best way to see for sure was just to try it.
Pump action
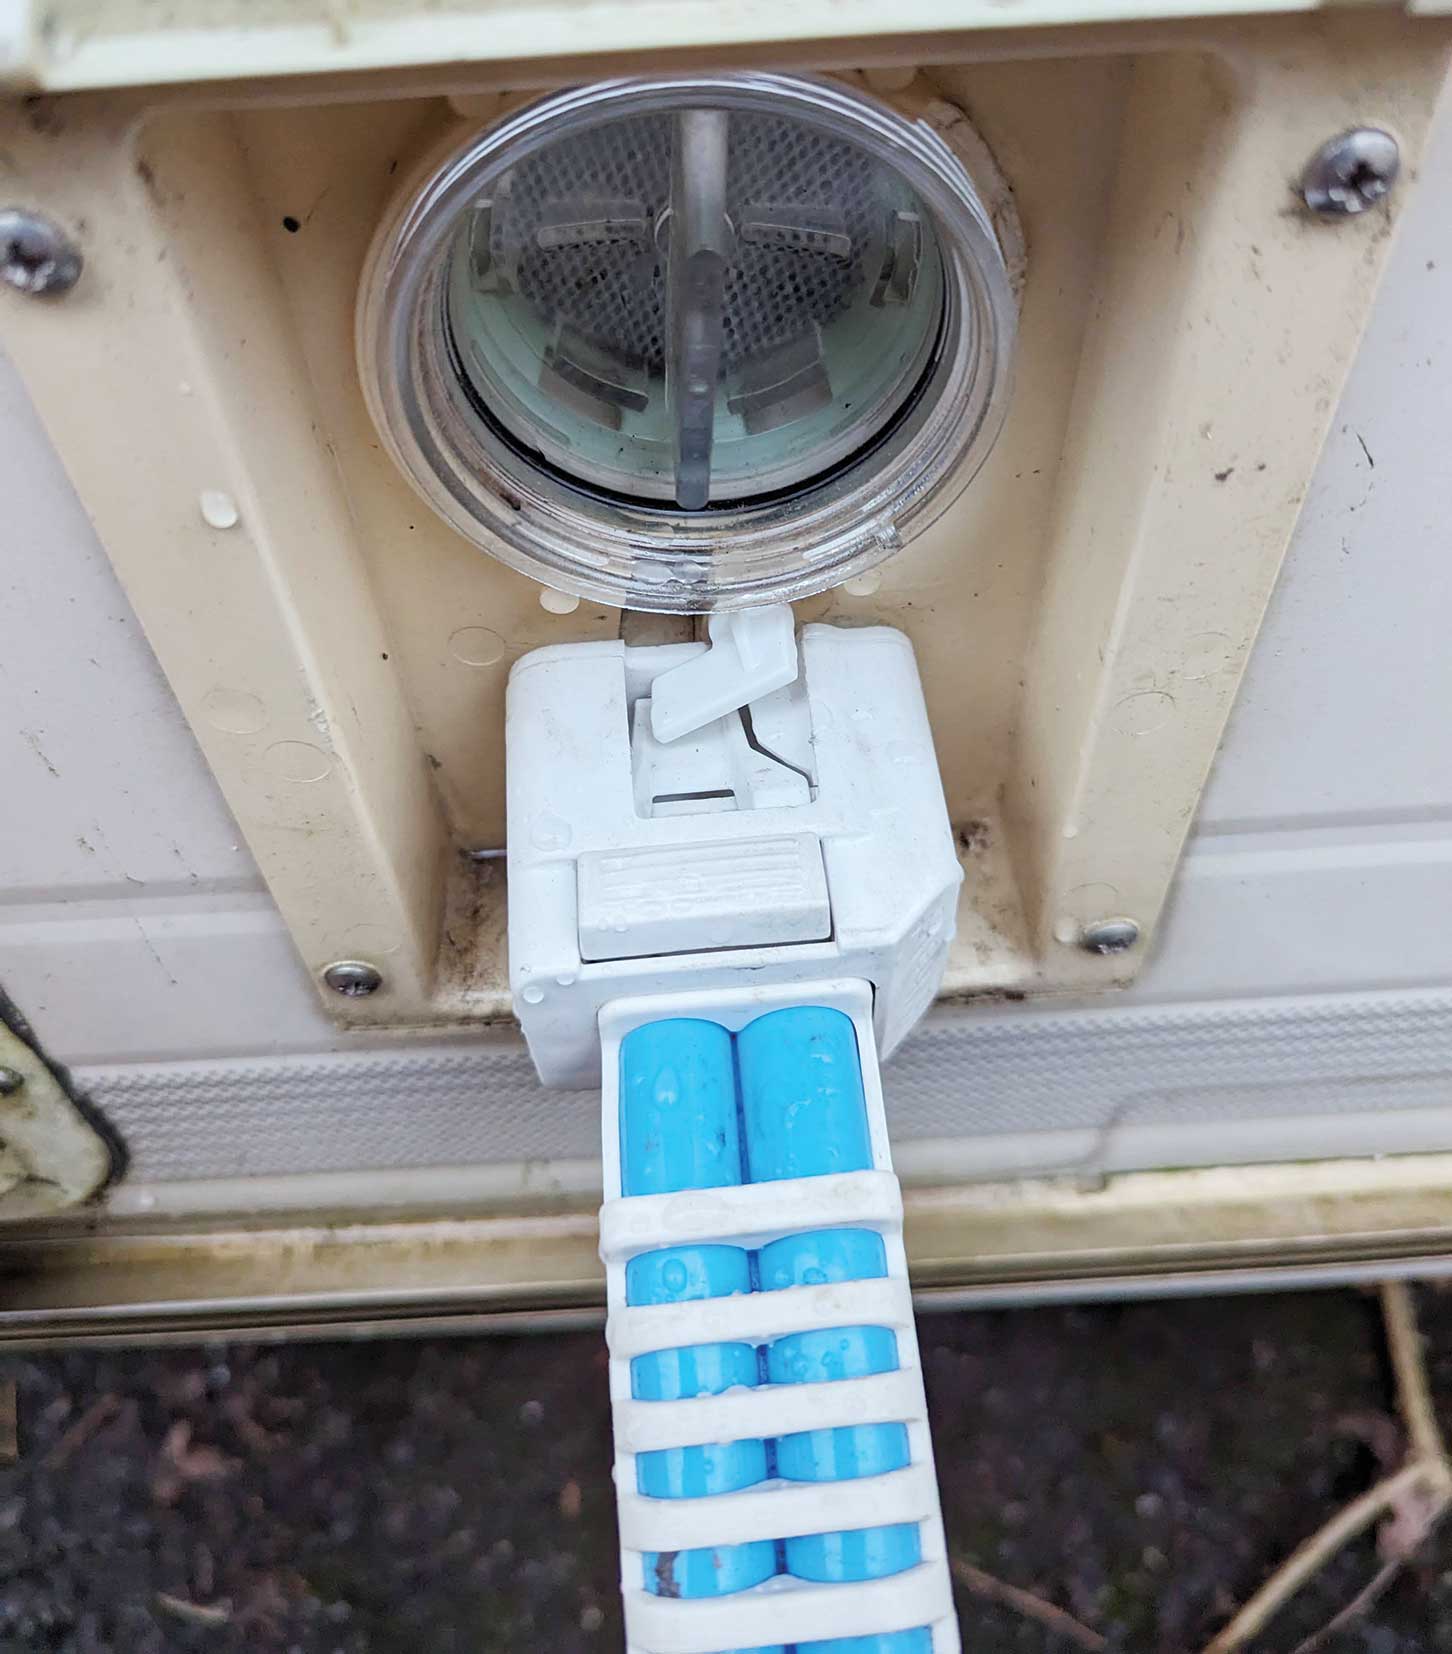
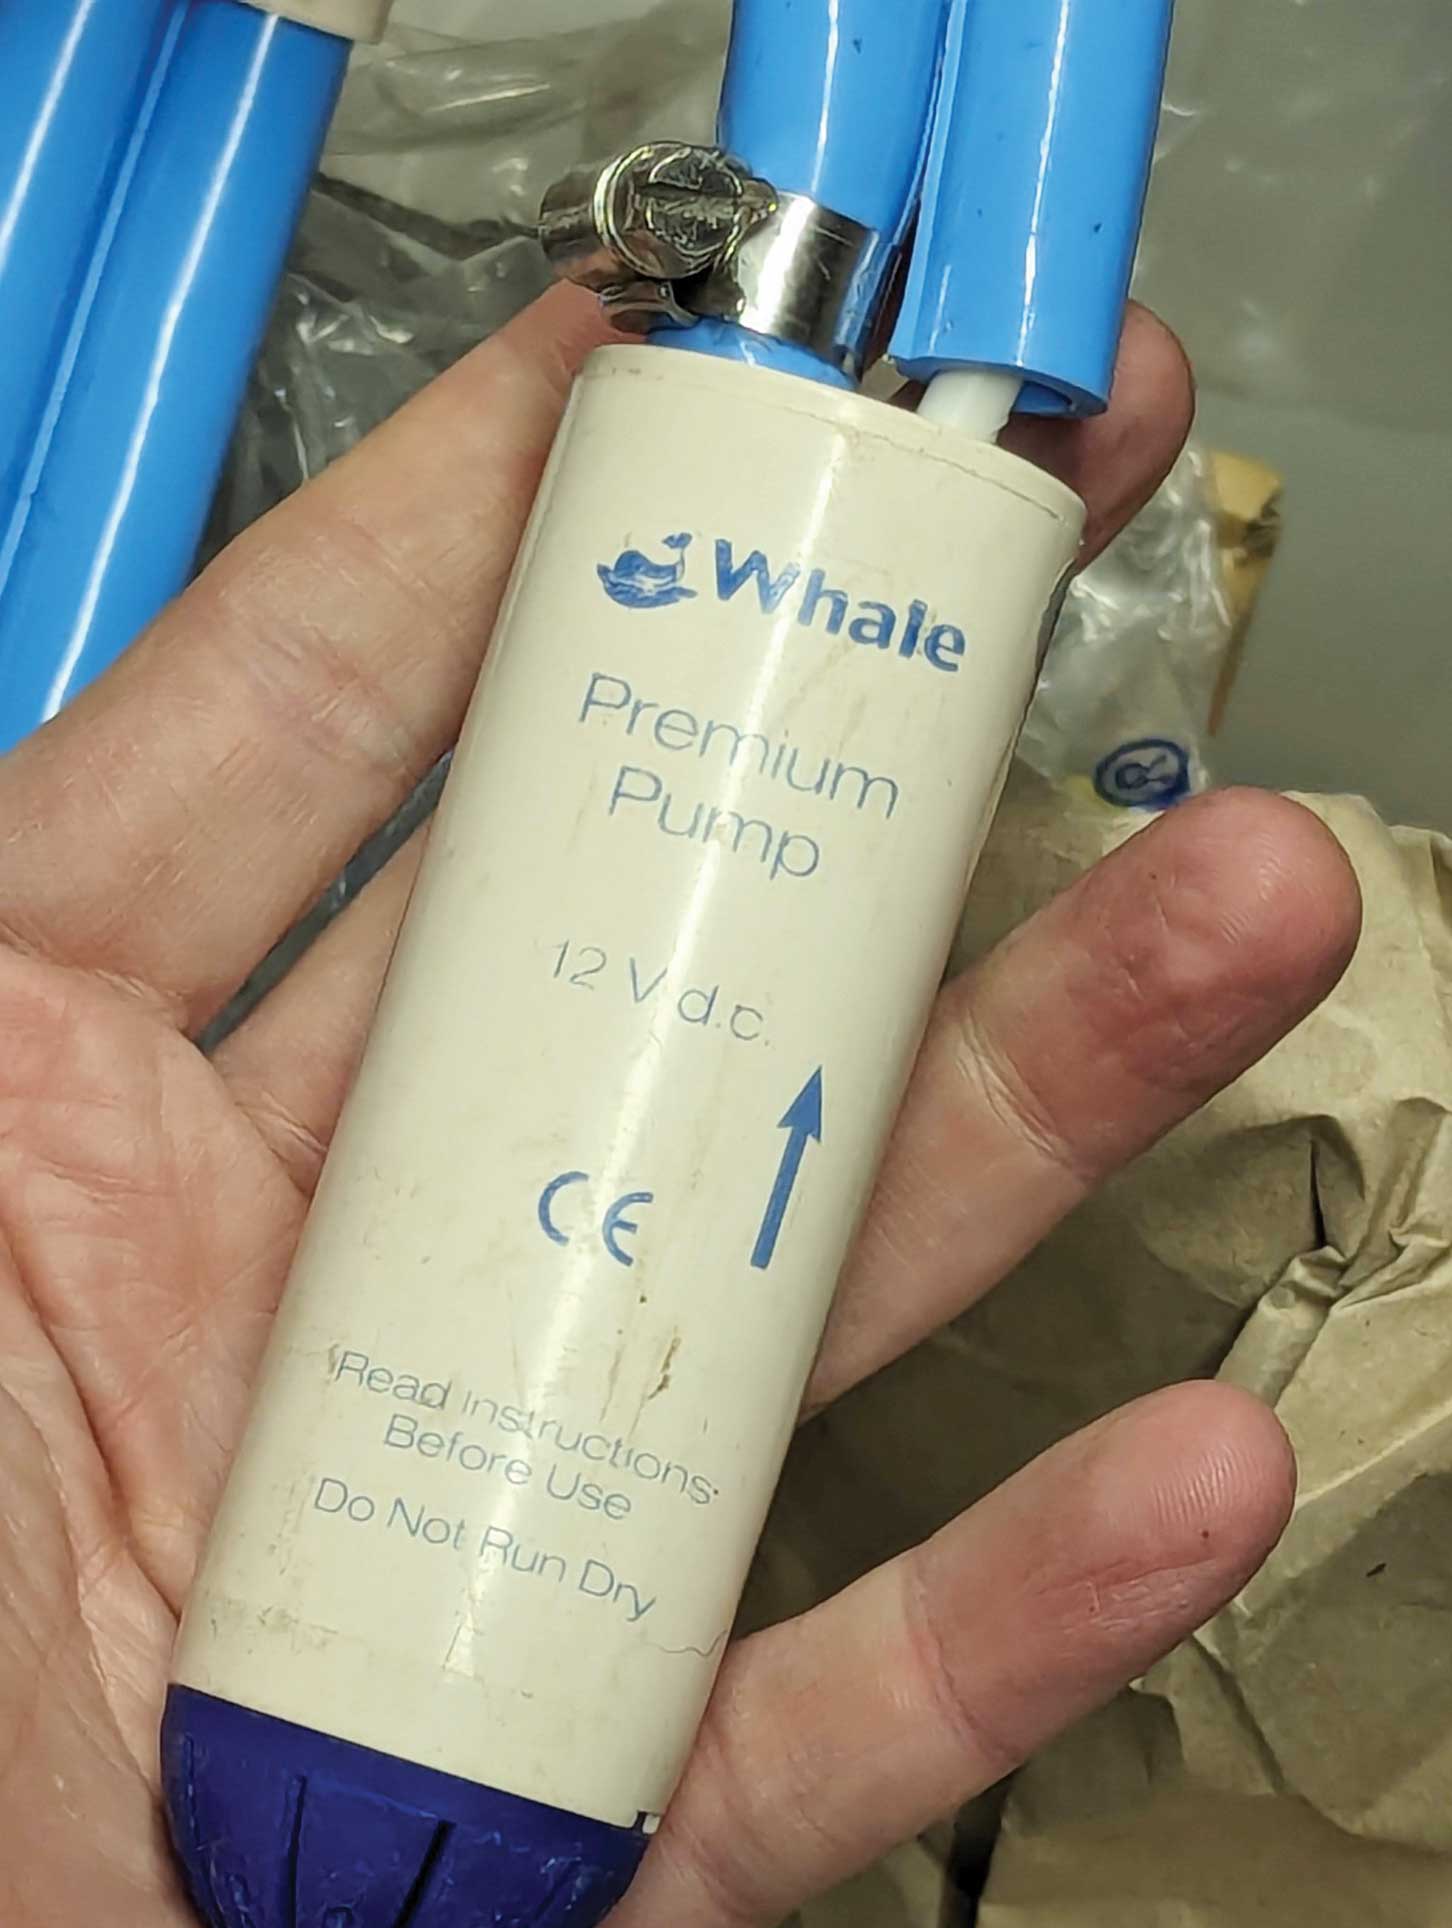
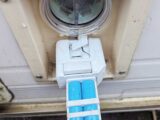
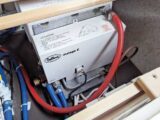
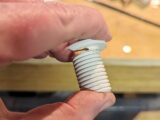
Penny’s water pump is notably new. A brief look confirmed all the terminals were bright and shiny, and the whole thing looked great. A closer look at the external inlet panel confirmed that was not.
Even with the broken tab replaced, there’s a bit of plastic missing from around the filter and the electrical terminals, which power the external pump, were simply grotty.
A few minutes with a cotton bud and some electrical switch cleaner restored a little shine.
We connected the pump, popped it into a bucket of water and went inside the van to fire up the water pump.
The good news was that the pump immediately started up, so that was the first test passed. The pump was working hard, which suggested the taps were open. The kitchen one wasn’t, but there was a gurgling noise from the washroom.
Then the pump started racing away and I could hear water. Turning off the pump, I went outside and could see water running out under the van. The bucket was empty.
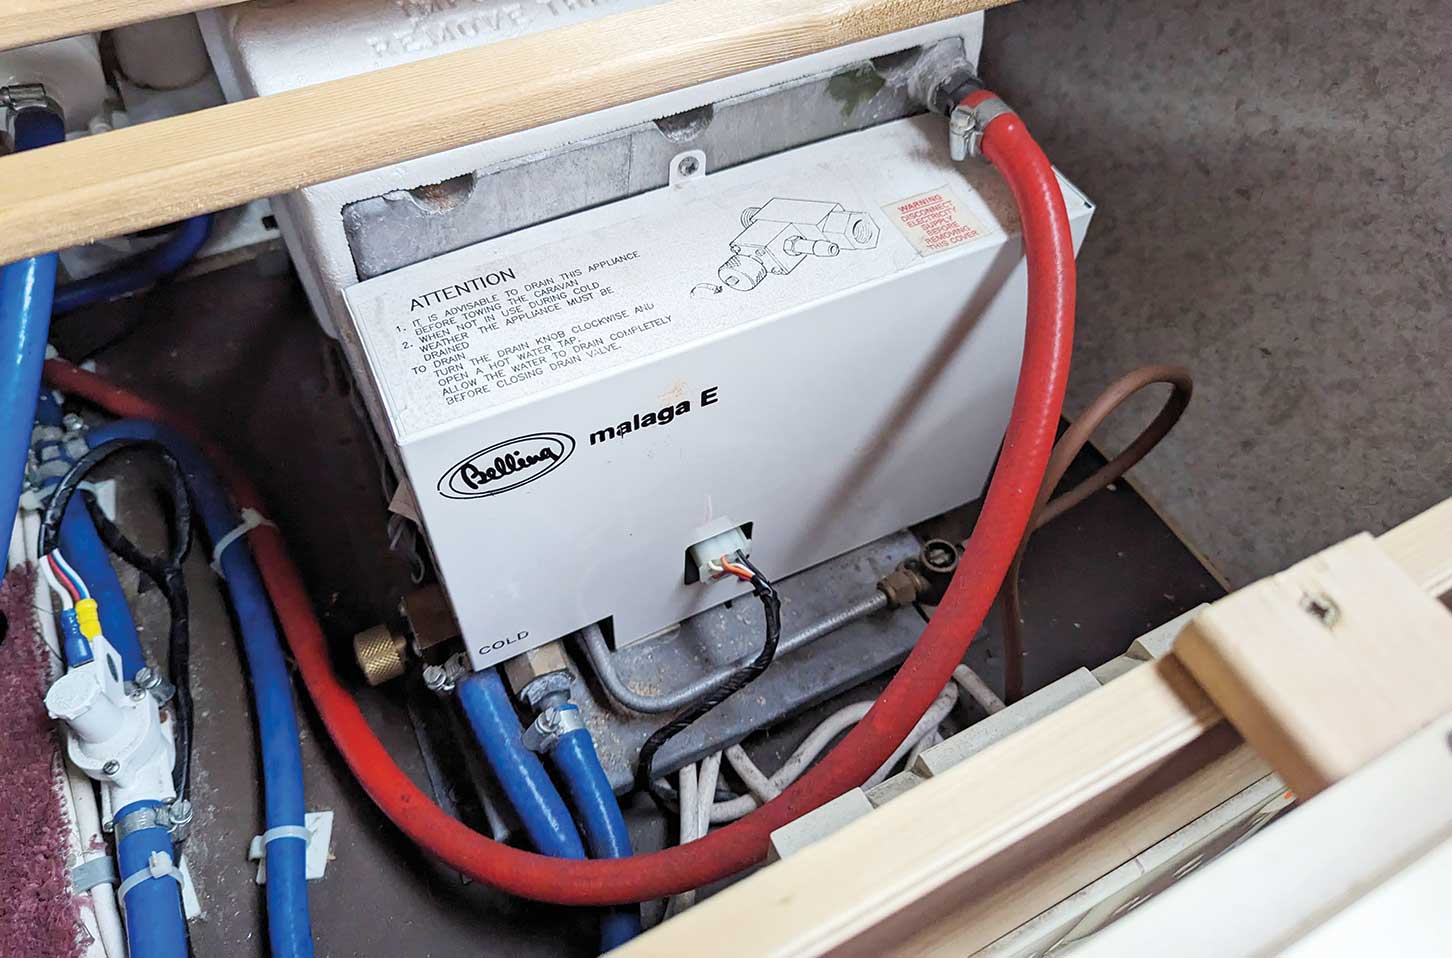
A quick investigation showed that the hot water heater drain tap was open, so the water was being pumped into the heater and out onto the ground.

Closing the drain stopped the water gushing out underneath the van, but we had an obvious problem that gave us pause.
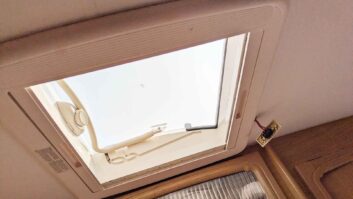
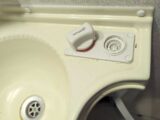
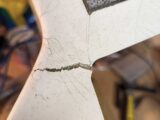
In the washroom, the Bailey caravan has a hot and cold mixer that feeds a combined showerhead and mixer tap. At first glance, it all looked fine, but a closer inspection revealed a problem.
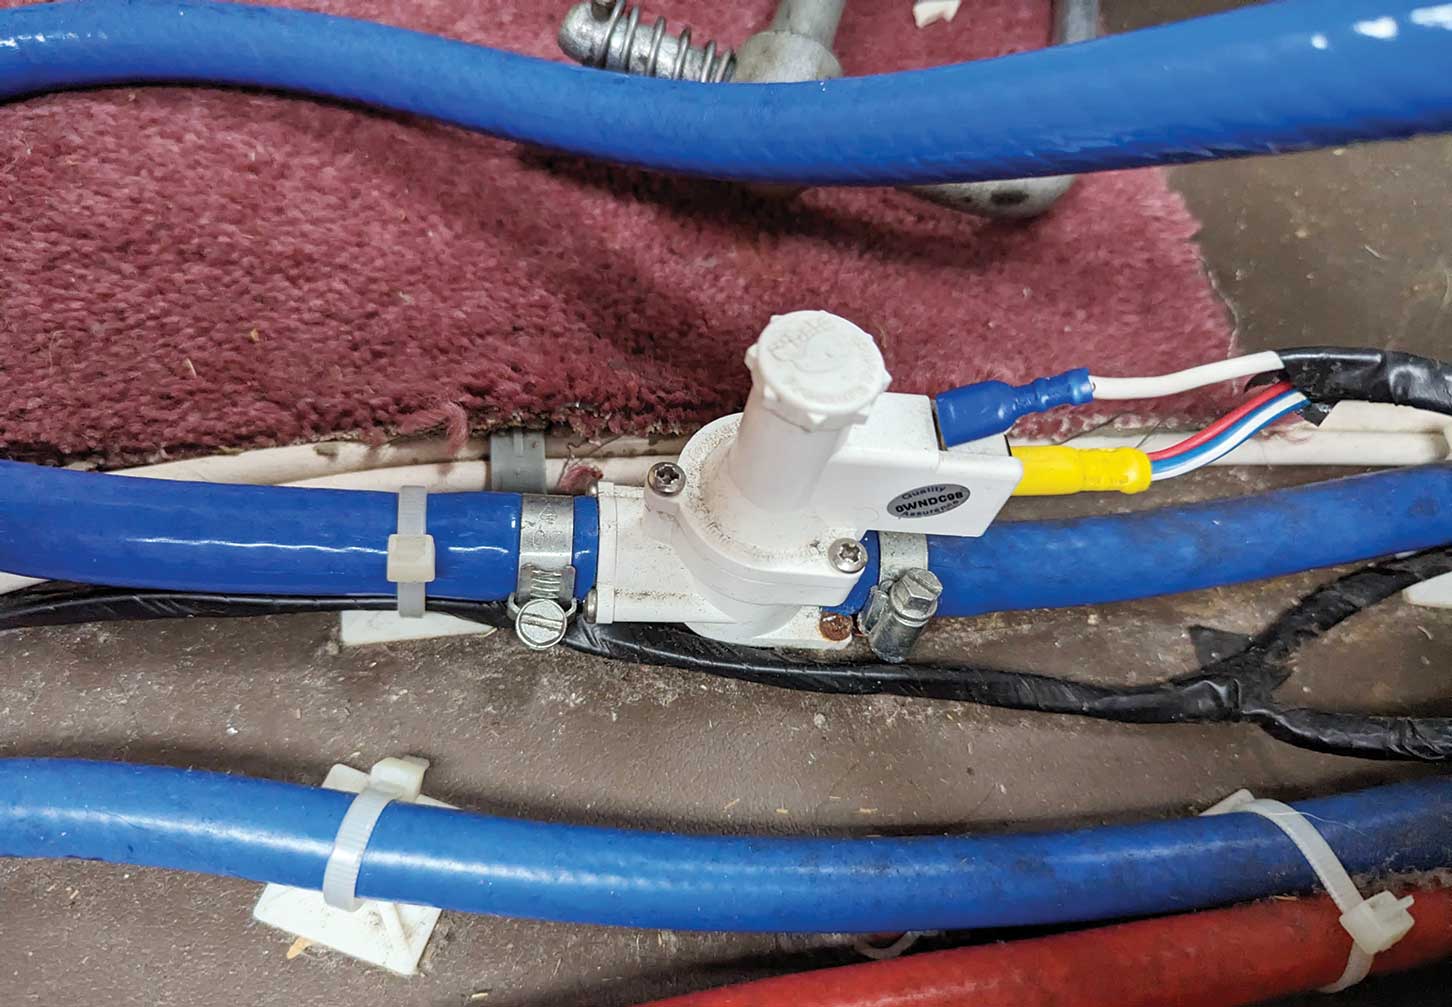
There are two types of caravan plumbing system: microswitch-controlled and pressure-controlled.
Microswitch systems use tiny switches to turn the water pump on and off. Pressure systems fill the system with water and cut off once primed. Open a tap and the pump runs, owing to the loss of pressure.
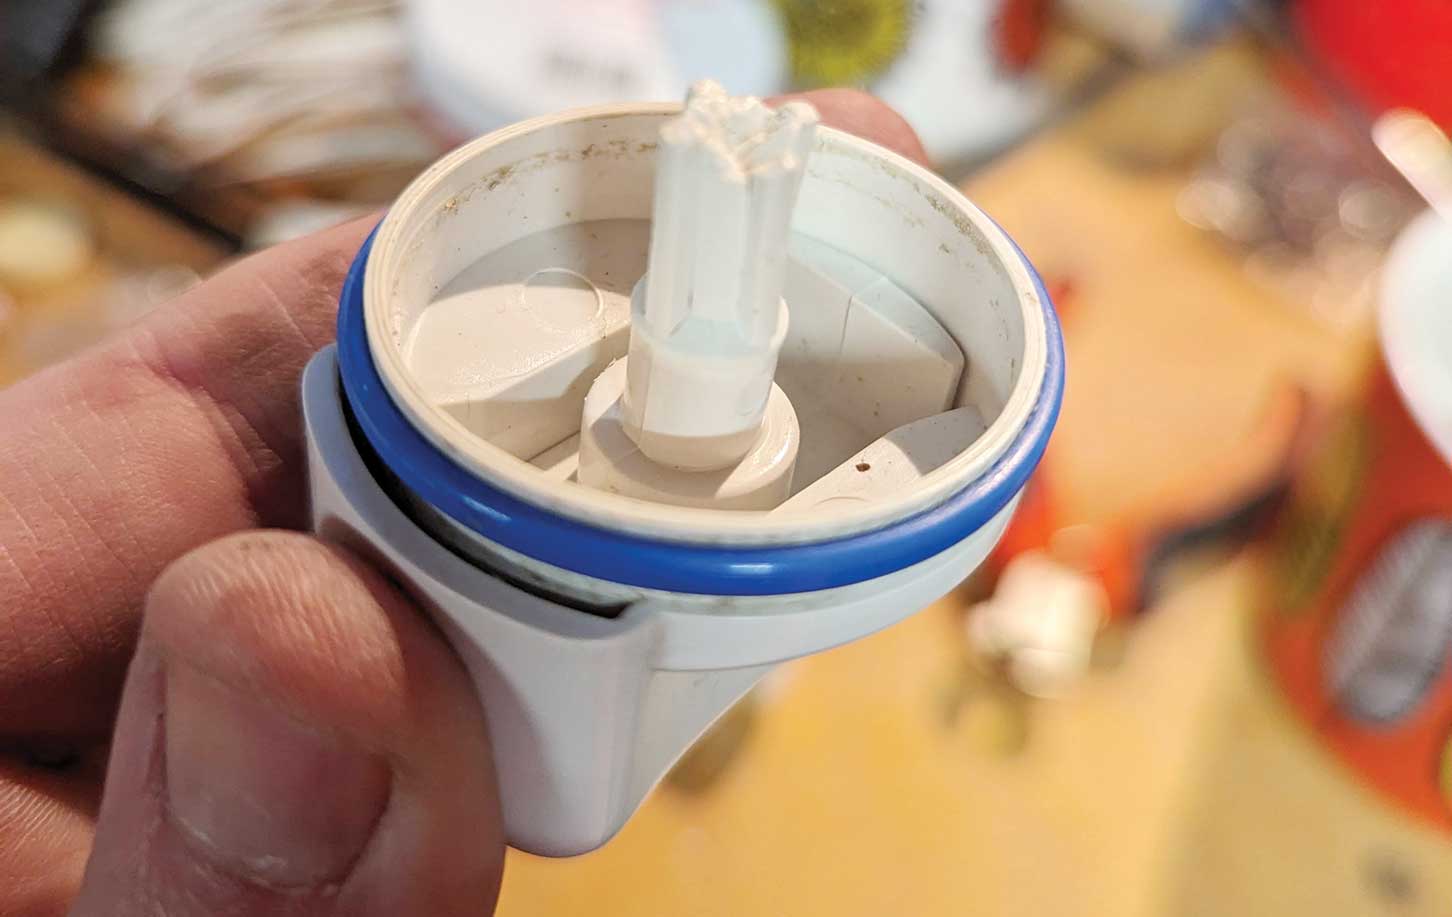
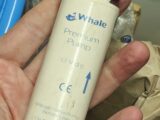
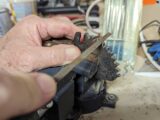
Penny’s pump was running continuously as the washroom mixer tap was badly broken. It’s a common unit – a Whale Elegance. It’s the sort of item that’s available from most well-stocked van accessory stores, but they aren’t cheap. Prices are around £120. There are spare parts available, so we got the unit onto the bench to see just what had happened to it.

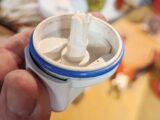
At first, we thought the tap head had snapped. That’s not a problem. Whale tap heads are available in pairs for a tenner.
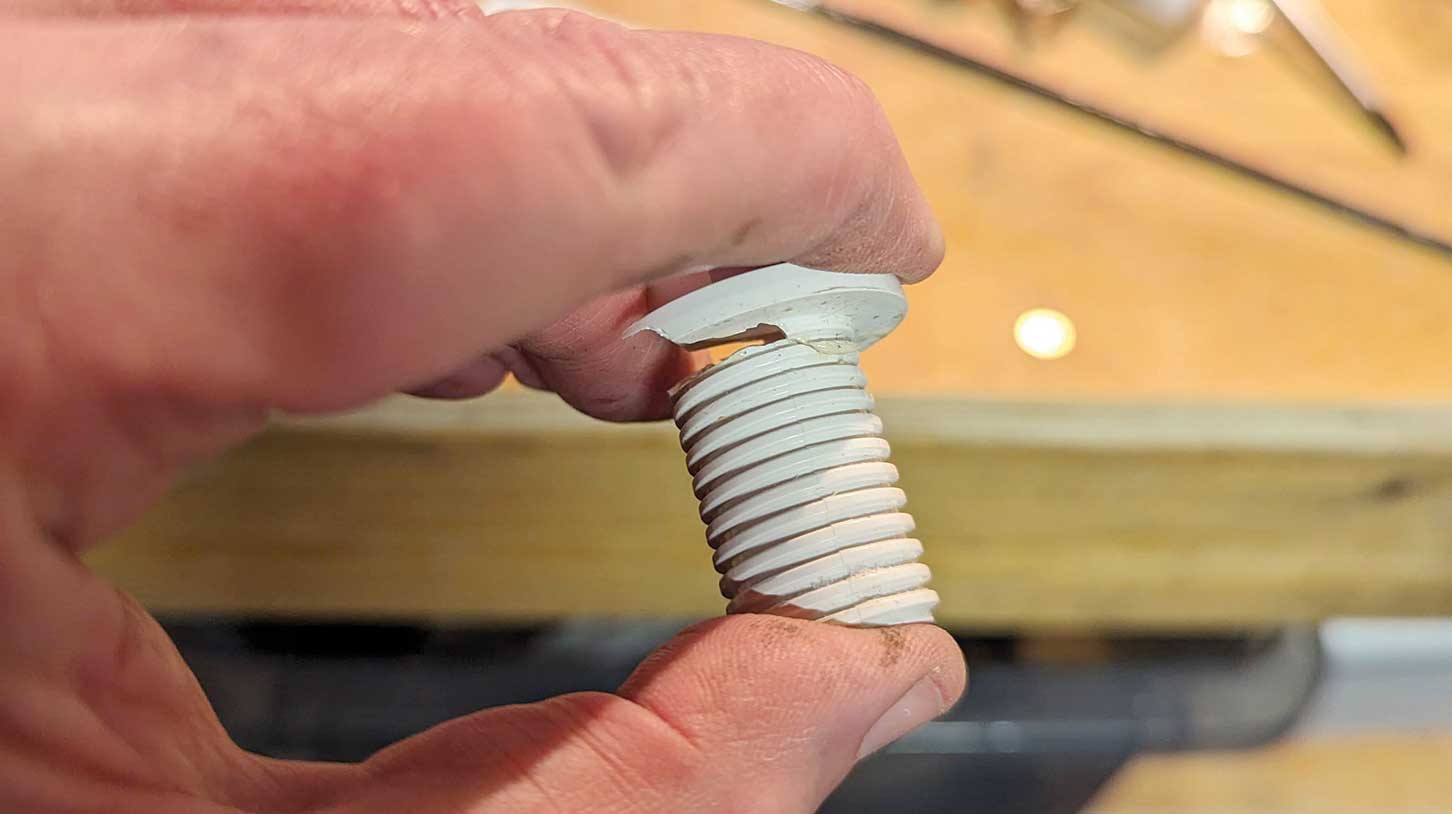
That isn’t the sum of the damage, however. The head hadn’t snapped, but the shaft connecting it to the valve had. It has been twisted hard and the snapped end was wedged in the valve. Worse than that, the retaining nut holding the valve against the baseplate was snapped into pieces. Someone really wanted to turn off the tap!
This last bit is not a part that normally needs replacing and is much harder to come by. As a result, all progress on improving the plumbing ground rapidly to an extremely disappointing halt. But the tap is actually part of a bigger issue – Penny’s washroom is pretty tired. The sink is a faded yellow colour, the shower tray is split and the whole thing is grotty. At least the toilet works.
We’ll buy the parts to get the taps working, but we need to start weighing up the pros and cons of a more wide-ranging washroom makeover. Definitely something to think about!
A-frame attention
The plumbing work had to be paused, but we had the tools out and the sun was trying to shine, so we decided to look for something else to get on with.
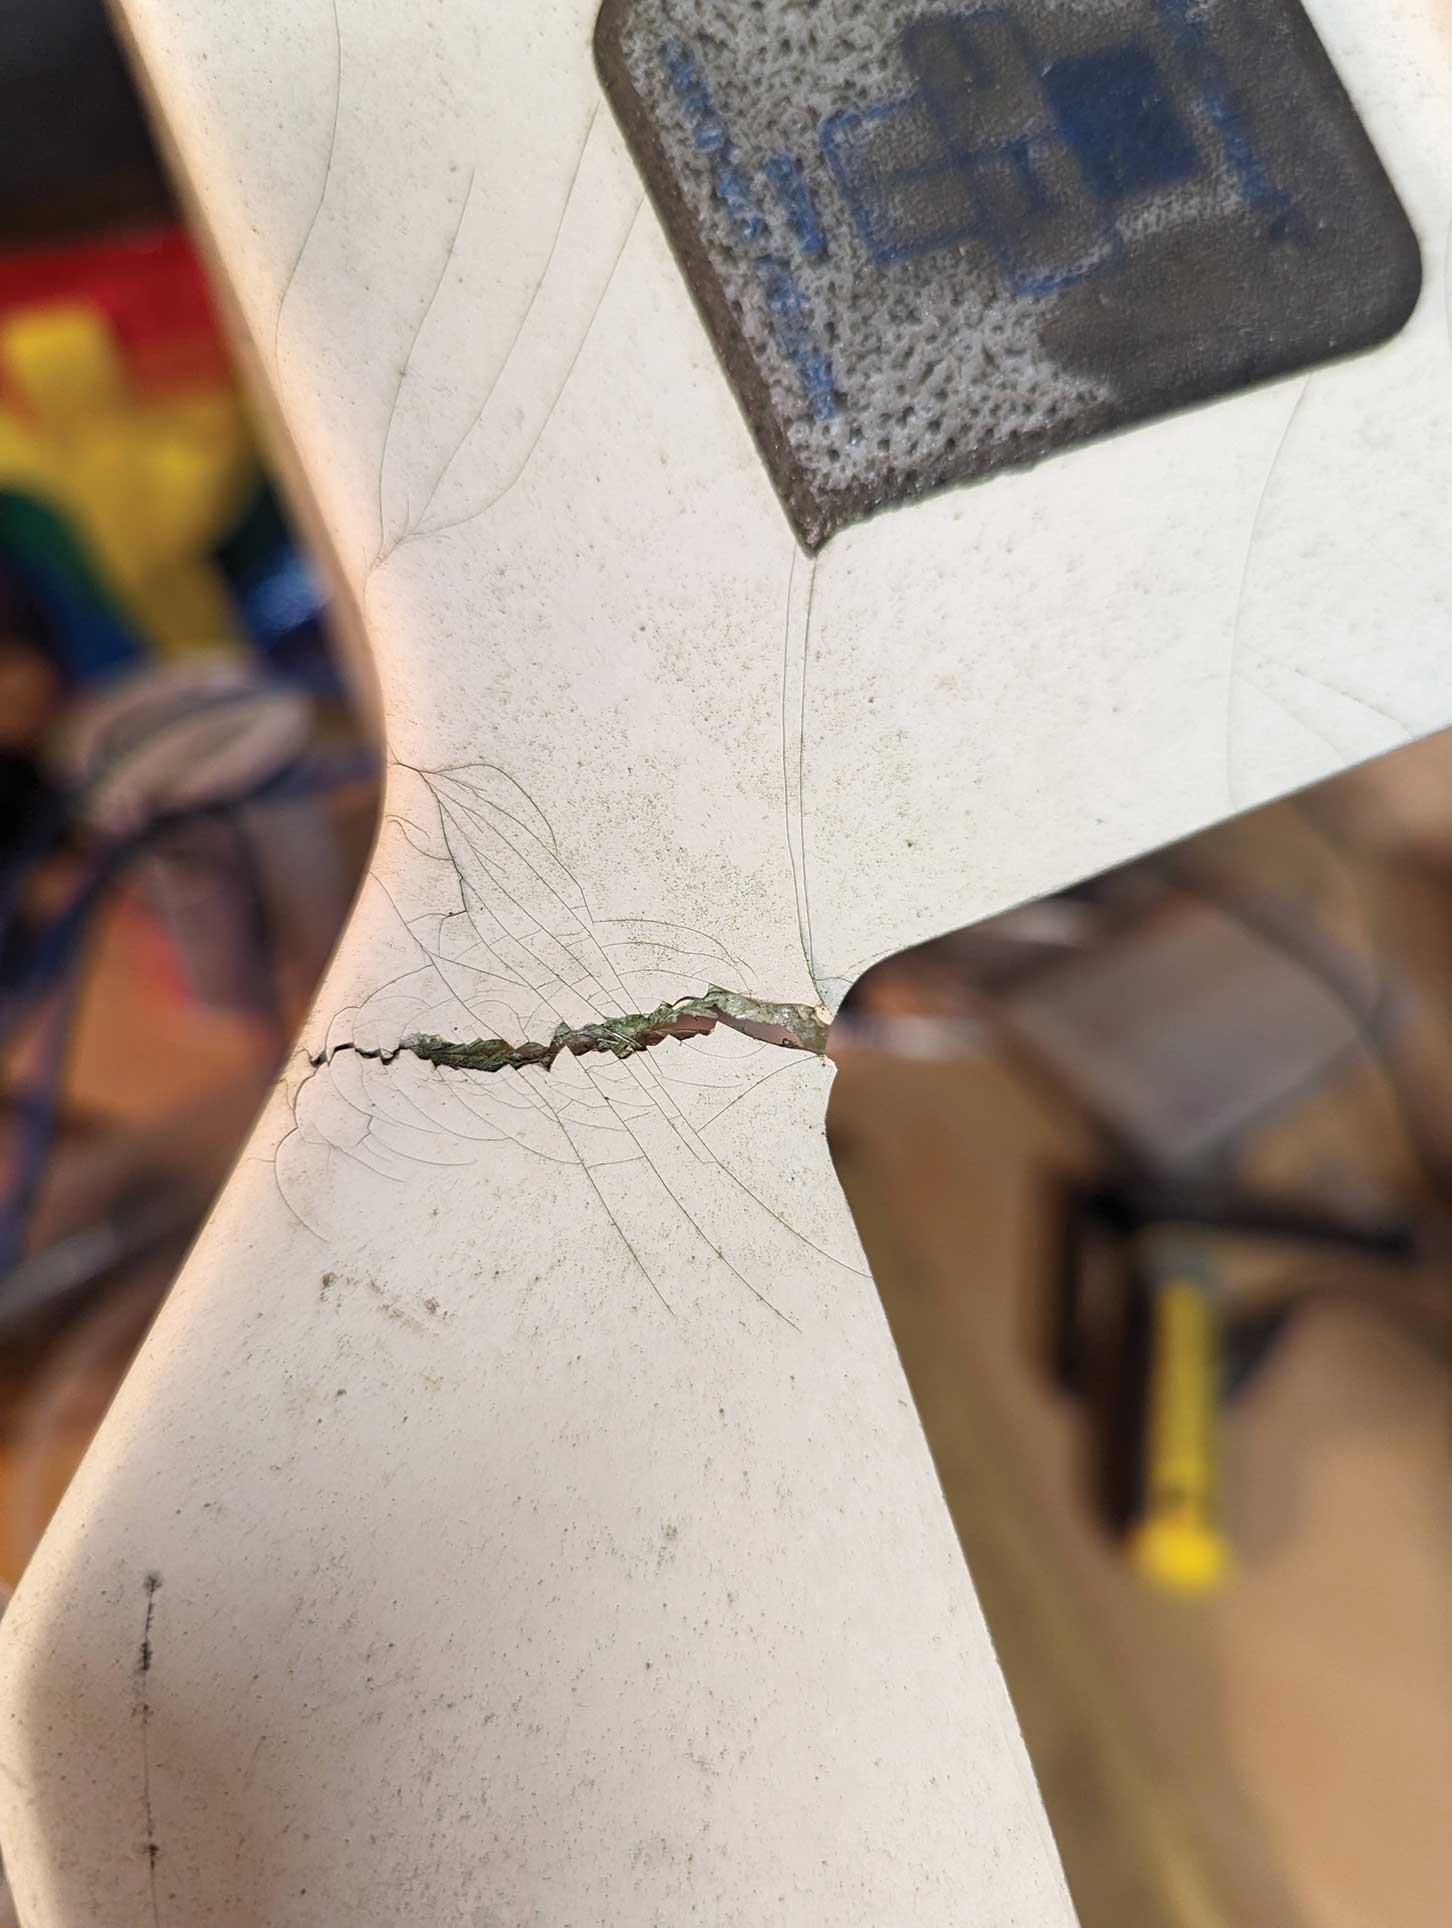
At least there is no shortage of things that need attention. Last year, we updated the towing electrics to something less hazardous looking, to tidy up the A-frame. There is a bit of general neatening to do in this area, too. When we collected Penny, she had a glass fibre A-frame cover fitted.
We say fitted – it was more of a ‘loose-laid’ affair. Any fixings that had once held it in place were missing, but there was a blob of some sort of sealant and many cracks to indicate that it might have seen some sort of trauma. Having sound caravan brakes is essential but here, the handbrake was a bit reluctant to stay engaged – a problem when setting up on a sloping pitch – and the jockey wheel is a nasty, narrow little thing that digs into soft ground at every opportunity.

The most important of these to tackle was the fly-off parking brake, because this had safety implications. Penny has an older-style brake lever, without any assistance. Modern caravans have gas-strut assistance to take some of the effort out of applying the parking brake. Not so our old Bailey.
As a result, the physical effort that is needed to pull on the hand-operated brake over time can result in the lever being pulled out of alignment. A quick review of the mechanism here showed us that this was indeed what we were dealing with.
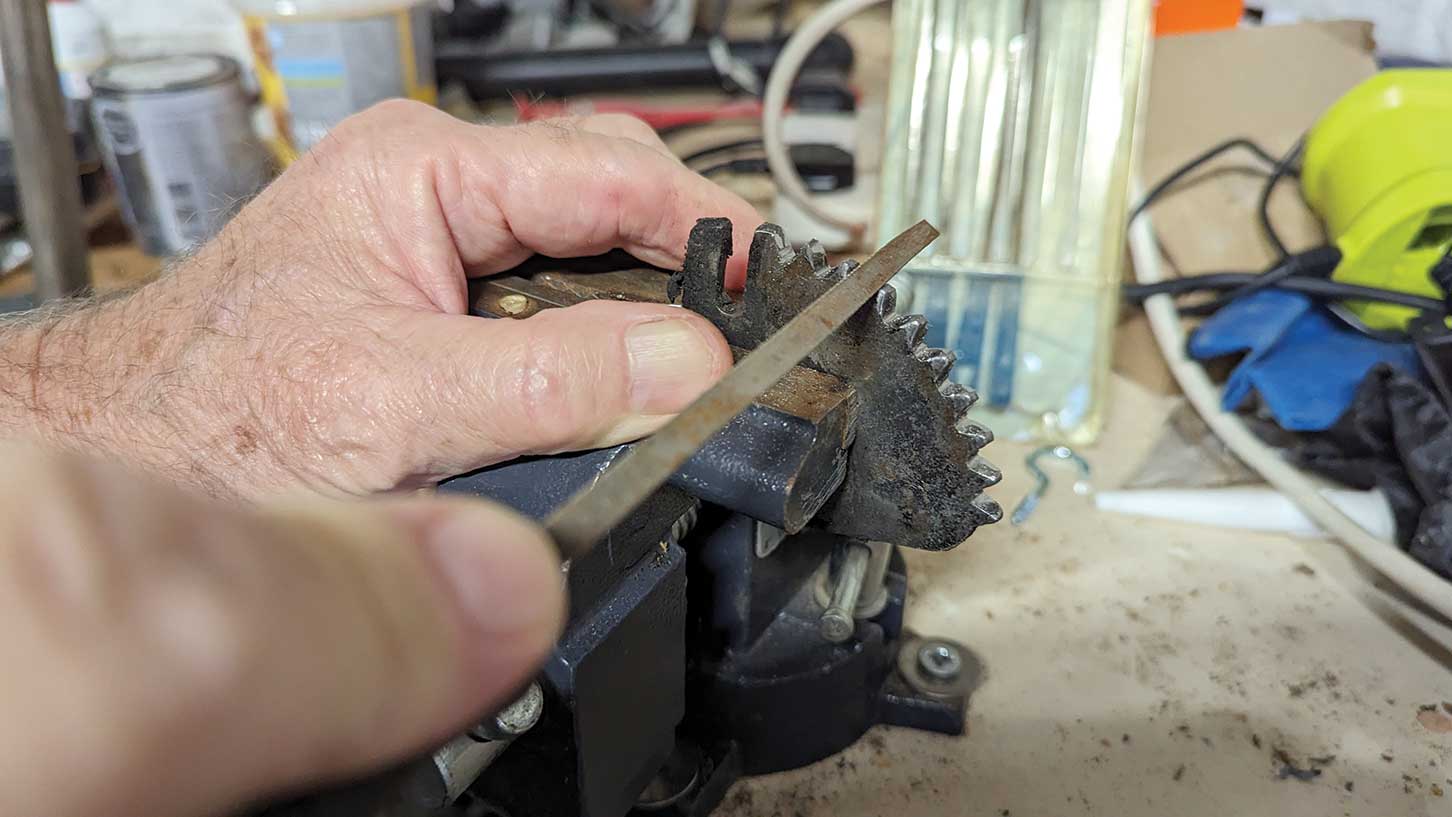
With the van safely on its steadies on level ground, we removed the handbrake mechanism and got it onto the bench. We straightened up the lever so that the ratchet was more resistant to sliding out of contact with the pawl and letting the brake release.
This had obviously been going on for some time, so we took the chance to clean everything up, including the ratchet teeth. Reassembling is an awkward job, with a high likelihood of trapped fingers and foul language, but with a bit of persistence, the parking brake function was restored.
The jockey wheel is working, but we’ll still be thinking about how to replace a jockey wheel, as we would like a fatter wheel to ease use on soft ground. For the moment we left this and are keeping our eyes peeled for a replacement. The A-frame cover is also set for a makeover. We’ll repair the worst chips in the gelcoat, find a means of securely attaching it to the A-frame, and beef it up to make it more damage-resistant.
Are you looking to get your tourer ready for your next trip? Don’t miss our guide to how to clean a caravan, where we talk you through the steps involved to get a shiny tourer.
Future Publishing Limited, the publisher of Practical Caravan, provides the information in this article in good faith and makes no representation as to its completeness or accuracy. Individuals carrying out the instructions do so at their own risk and must exercise their independent judgement in determining the appropriateness of the advice to their circumstances and skill level. Individuals should take appropriate safety precautions and be aware of the risk of electrocution when dealing with electrical products. To the fullest extent permitted by law, neither Future nor its employees or agents shall have any liability in connection with the use of this information. You should check that any van warranty will not be affected before proceeding with DIY projects.
If you’ve enjoyed reading this article, why not get the latest news, reviews and features delivered direct to your door or inbox every month. Take advantage of our brilliant Practical Caravan magazine SUBSCRIBERS’ OFFER and SIGN UP TO OUR NEWSLETTER for regular weekly updates on all things caravan related.